When you think of your dream kitchen, there is more than likely a nice backsplash in your mental image of that perfect kitchen. There are tons of options and colors when it comes to a kitchen backsplash. You can go bold if you choose to make a statement and have it really be a focal point of the kitchen or you can go with a more neutral style and have it be just a subtle accent to the rest of the kitchen. As for the materials, you can go with a natural stone, ceramic tile, metal tiles, mosaic tiles arranged on a mesh backing to hold it together, glass tiles, and more. It really just depends on your style and budget as to which backsplash is right for you. One way to save a little money on your backsplash is not to go with all expensive tiles, but if you find some you like that may be out of the budget for your entire backsplash, simply work them in as an accent to some cheaper tiles to create a nice backsplash.
When planning our kitchen facelift, we kicked around several ideas for our backsplash. Just about anything to replace our “wallpaper backsplash” (installed by the previous homeowners) would definitely be an improvement.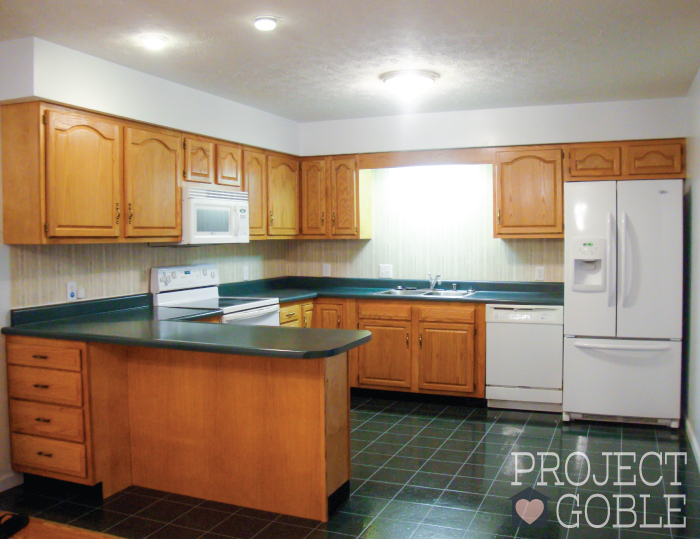 We looked at tile stores, big box stores, and even some overstock resale stores.
Instead of making our backsplash a focal point of the kitchen, we decided we wanted a neutral color and use colorful accessories so the overall color scheme can be easily and inexpensively changed at any time.
The backsplash we kept coming back to was a beige and brown toned natural stone Instant Mosaic Wall Tile that we just happened to find at Lowe‘s Home Improvement Store.
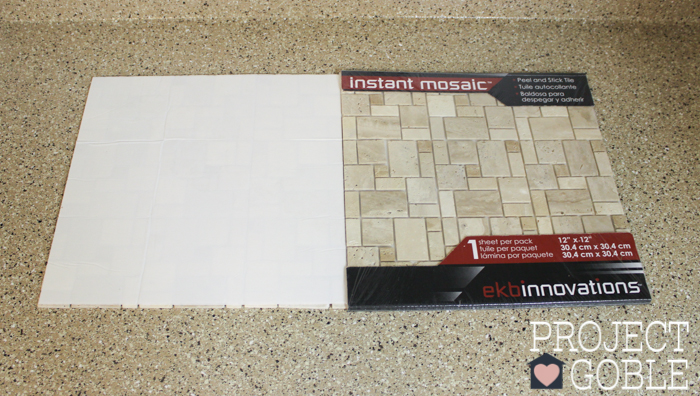 Not only did we love the natural stone look of the tile, but also loved its mosaic pattern. It was very different than all the other traditional options we had found. (Lowe’s no longer sells this, but you can purchase it here)
What we found to be a HUGE advantage (and selling point) of the Instant Mosaic Wall Tile was its peel and stick backing. This allowed us to avoid using (and buying) any mastic tile adhesive to apply it. We could simply stick the adhesive backing directly onto our drywall. Being DIY-ers, this seemed like a good idea. Neither of us had any tiling experience and didn’t want to get in over our heads.
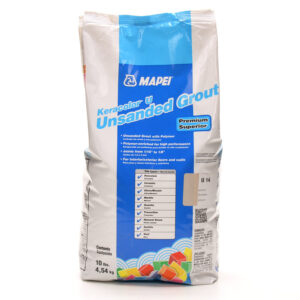
So, we loaded them up in a buggy (that’s what we call shopping carts here in Kentucky!), grabbed a bag of biscuit colored grout, four coordinating bull nosed tile trim pieces, and a tile float. We couldn’t wait to get started!
(We already painted our kitchen cabinets and countertops. You can read all about our overall plan HERE, adding in beadboard HERE, and painting our countertops HERE)
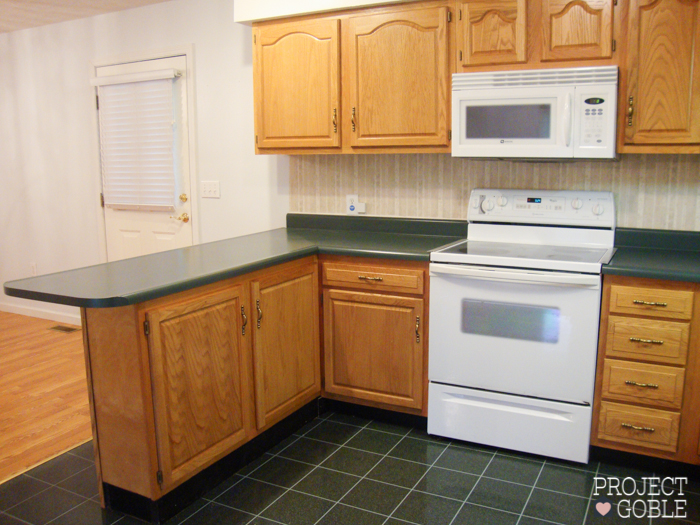 Our first task was removing the ugly wallpaper that served as a backsplash. Let’s keep it honest here, getting all that wallpaper off was by far THE hardest and most time consuming part of this entire project. It was NOT pretty. It took FOREVER. We tried anything and everything. All those magical solutions that others used successfully didn’t quite work for us.
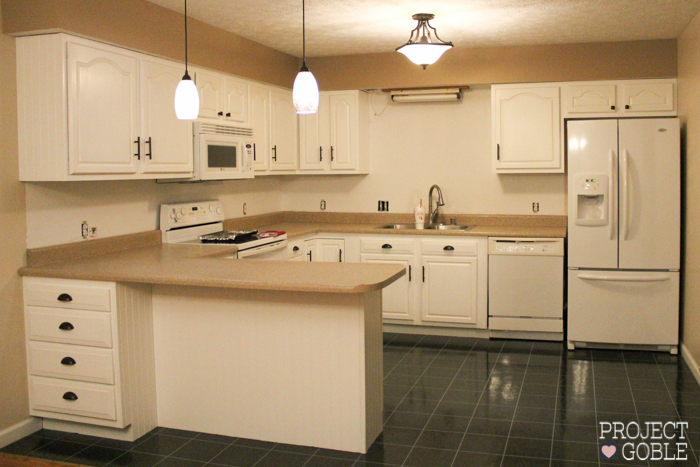 Our walls were a mess when we finally got it all off, so we decided to do any drywall repair needed, and give it a fresh coat of white primer paint prior to starting our backsplash. This did set us back a day, but if it is worth doing, it’s worth doing right! (If you are wanting to remove wallpaper, check Pinterest for a zillion different ways and hopefully you find one that works best for you!)
 After the wallpaper was FINALLY removed, we were oh so ready to start peeling and sticking! First things first – We put out our first (of many) sets of tile spacers to help keep everything spaced out evenly. We then decided our starting point for the very tile would be the center of the area directly above our sink and we would work up and out from there. This would help keep the grout lines level and the pattern somewhat symmetric.
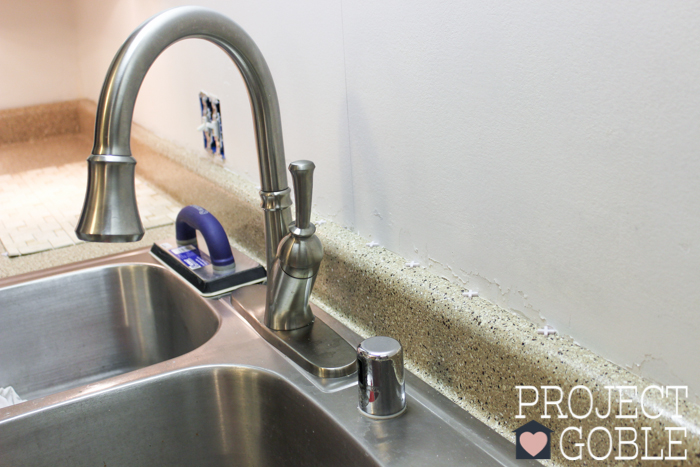
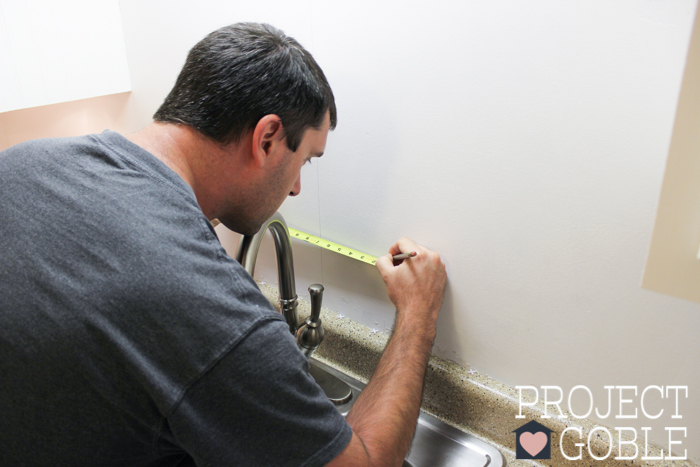
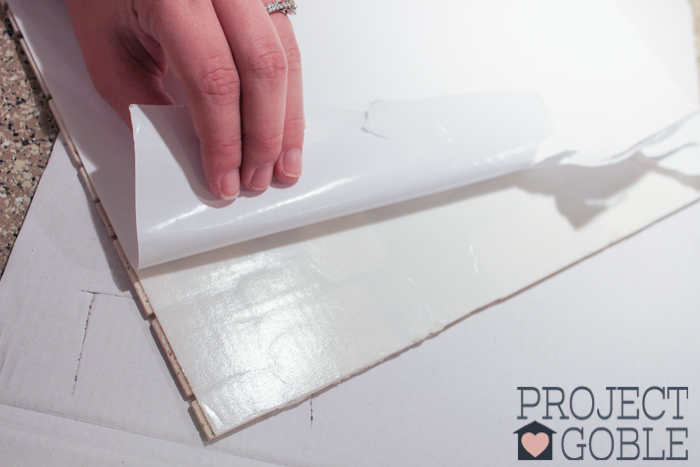 We peeled back the backing off our first 12″x12″ piece and lined it up to the middle of the lines we had drawn, started sticking the tiles in place and then pressed them down firmly with a tile float. After we got a going, it was pretty much the same oh steps, time, after time, after time.
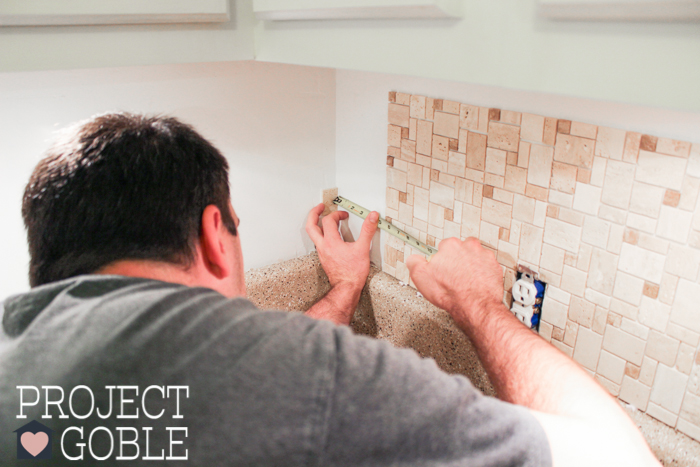
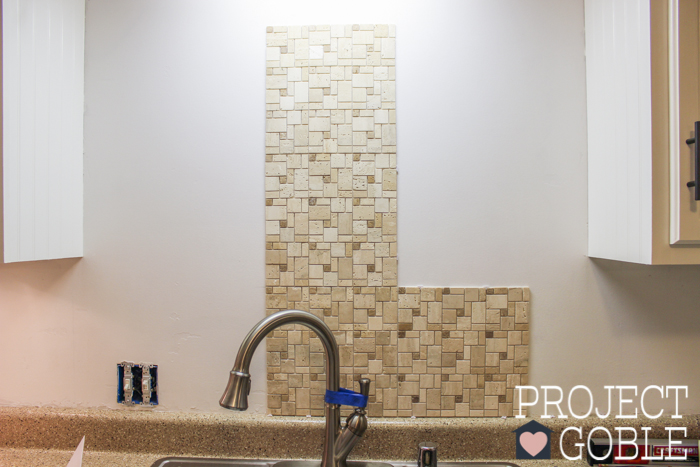 We did lots of number crunching with this project! Our tape measure and level also came in handy to help keep things level and to utilize each 12×12 piece to its full potential! Our goal was to measure twice (or more) and cut once.
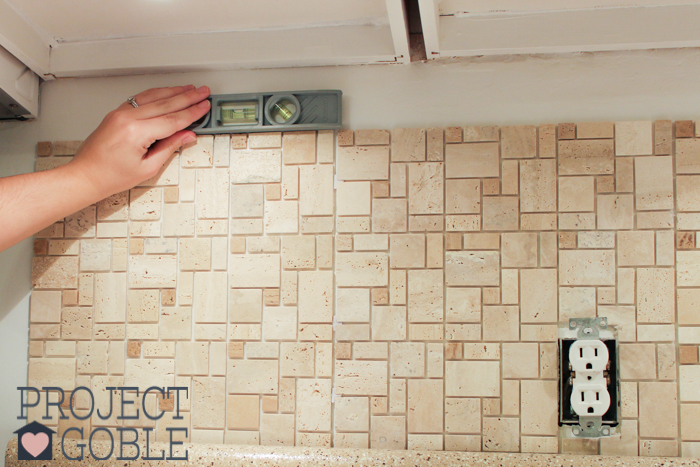 When we came to an area where we had to cut the tiles for outlets or switches, we used a cut-off-wheel for stone on a 4 ½” grinder. (Tip: Put some masking tape over the area to be cut! This helps keep the little pieces of stones from breaking!)
 After we got all the tiles stuck on the wall, we went back and grouted it with the biscuit colored grout, just like you would any other tile.
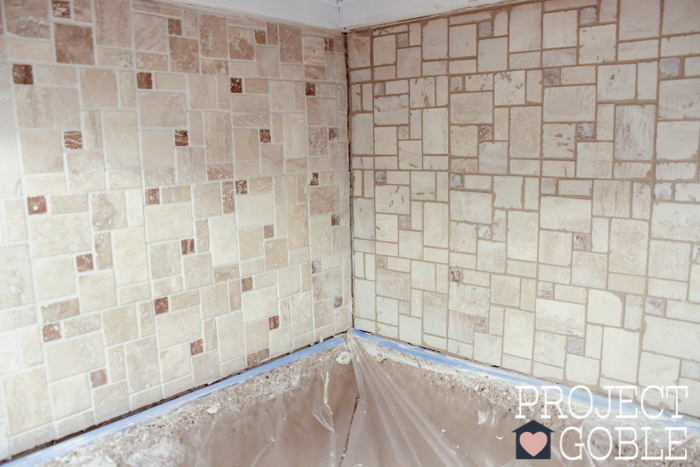
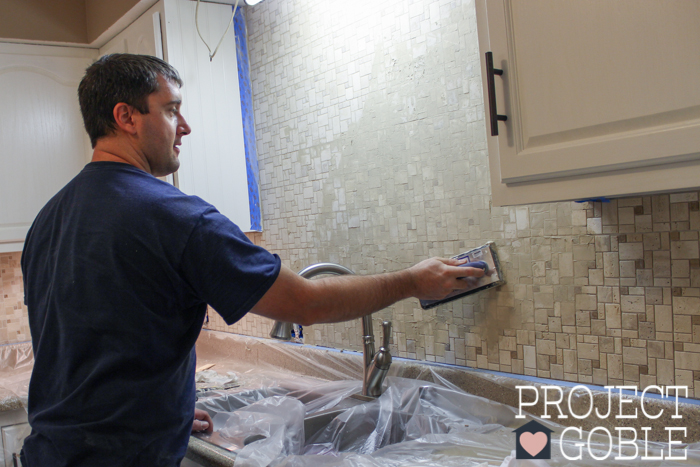
 The left side of this photo shows what it looks like when it is all cleaned up. The right side of the photo shows what it looks like when it still needs to be wiped off. The grout dried a lot lighter than when applied!
 As for the finishing work, we added some bull nose stone trim to the ends of the backsplash.
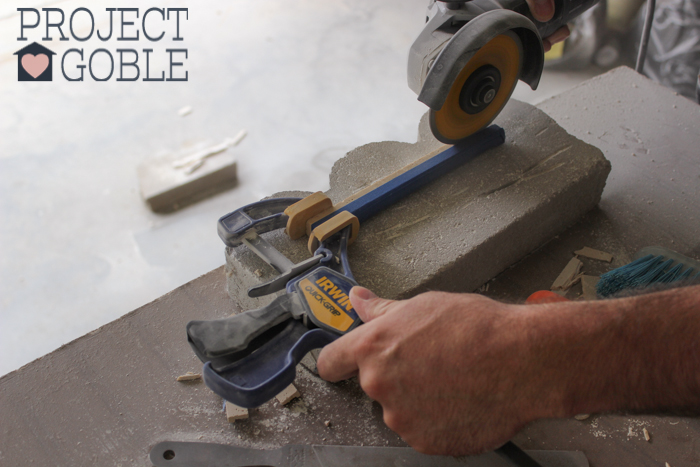
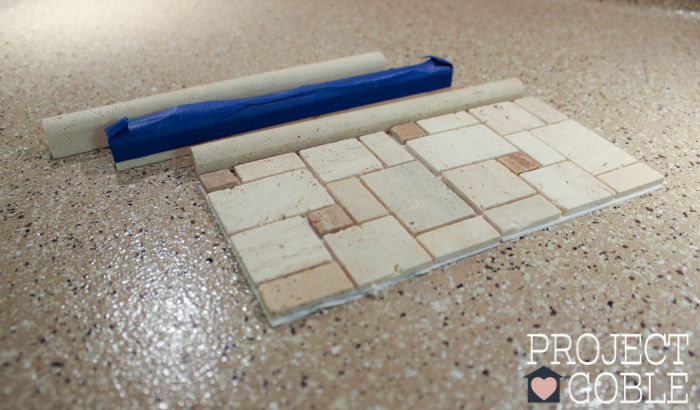 The ones we found to match the backsplash were slightly too thick for our taste, so we simply cut them to fit.
 We also used a biscuit colored caulk (same color as our grout) to fill in the gap where the backsplash and the countertop meet.
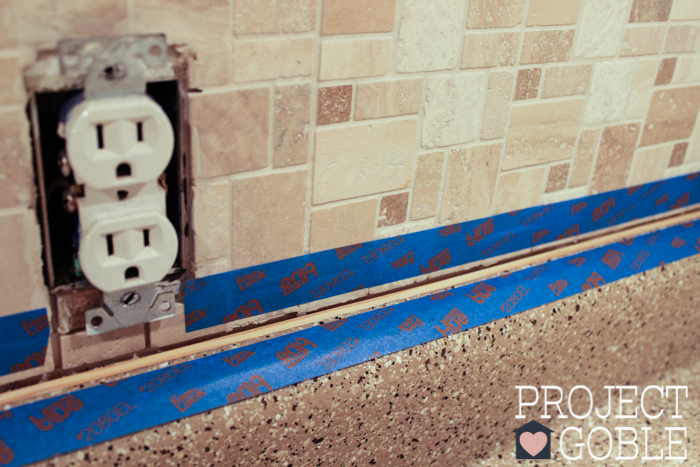
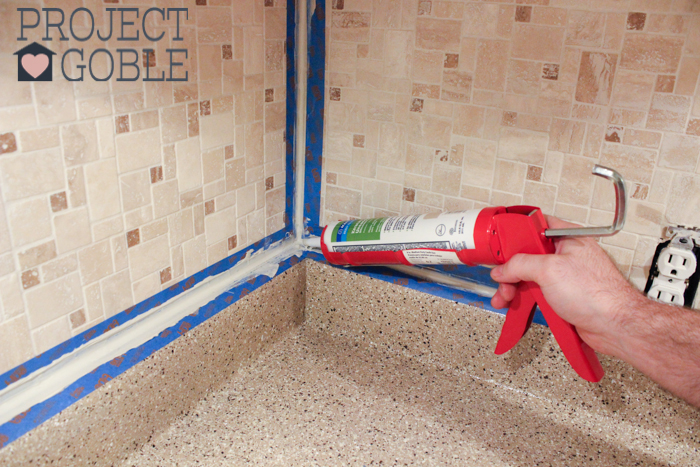
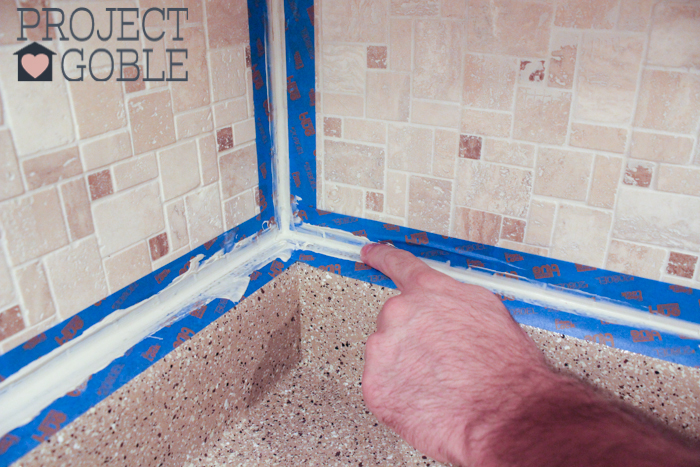 Just a little tip we learned from the one and only Mike Holmes… Apply painters tape to the top and bottom of where your caulk line will be. Then right after you apply your caulking, wet your finger with water and glide it across the caulk to help smooth it down, creating a smoother line. After it is all applied or when it is partly dried, go ahead and pull off the painters tape and you will have a nice clean caulking line! (Trust us on this one, as we’ve done it without the painters tape AND with the little gadgets you buy in stores, and the tape and wetting your finger trick creates by far the best results… just please remember to wash your hands really good when done!!)
We also went over the entire backsplash with a stone sealer a few days later after the grout fully dried to finish out the project.
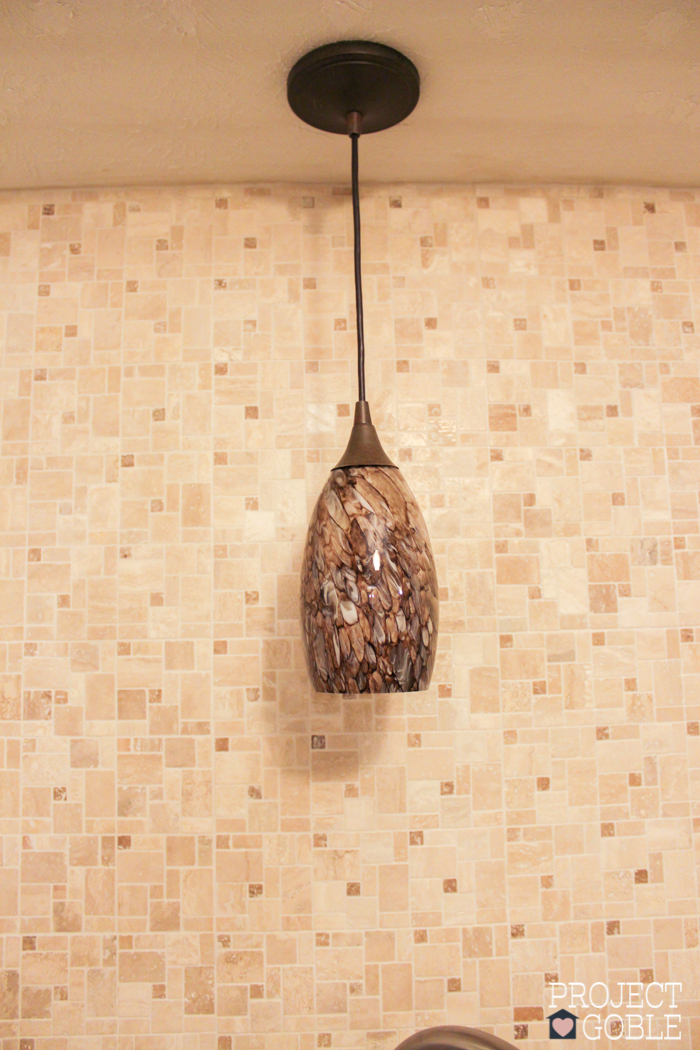
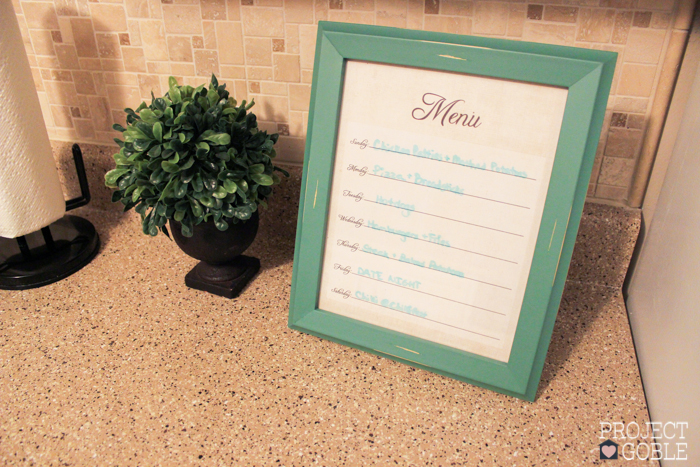
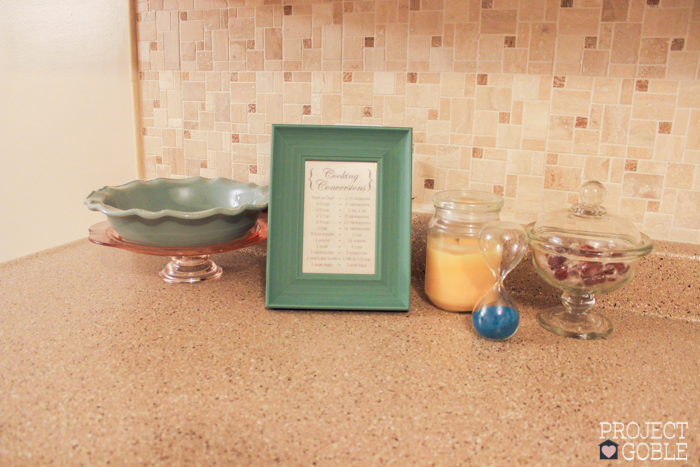
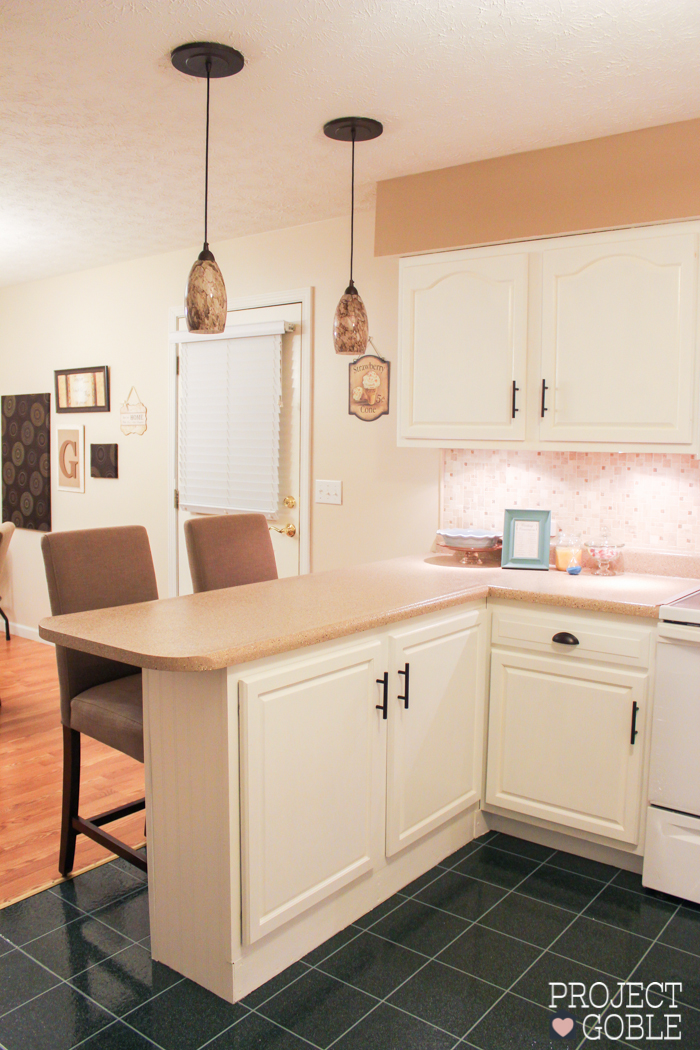
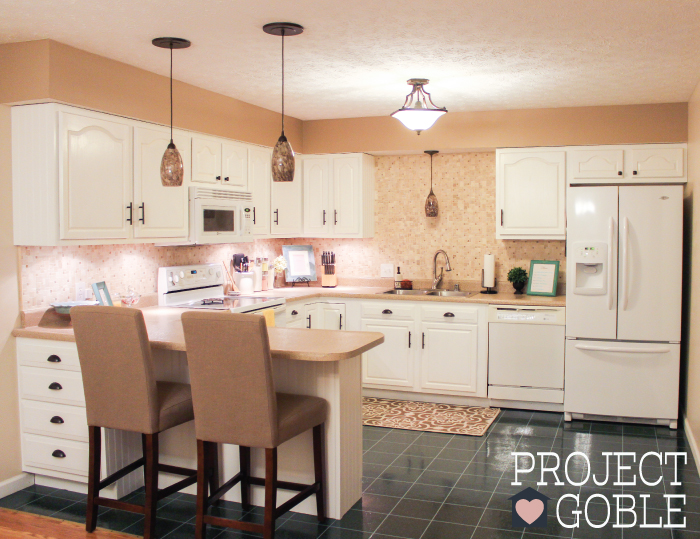
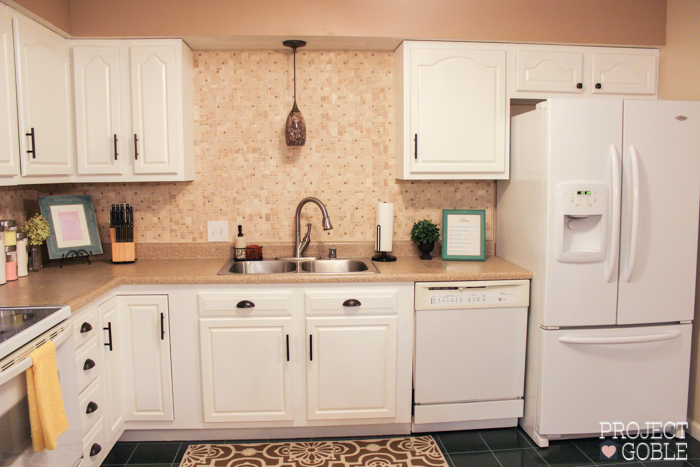 Here are some close up pics of the details of the backsplash. It does look different depending on what lights are on, including if we have our under cabinet lighting turned on or off.
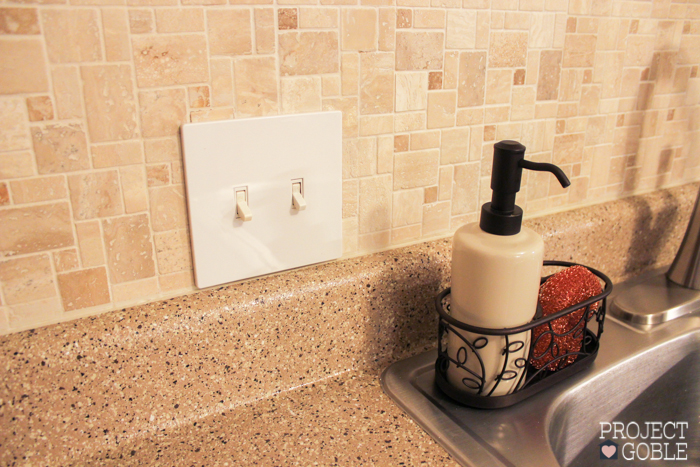
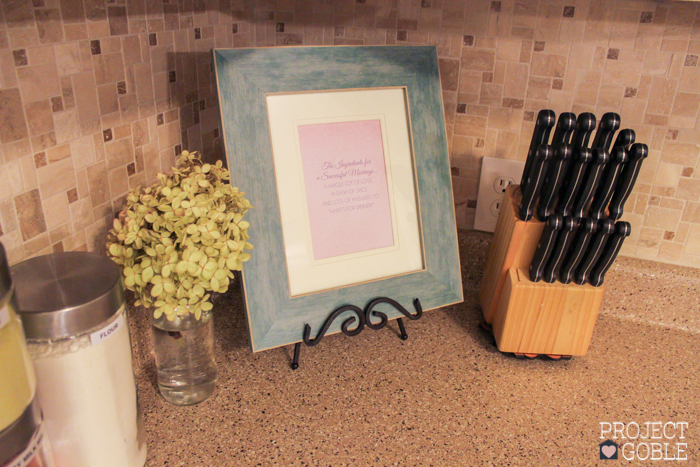 Here you can see how we finished off the edges of the backsplash.
 Although we LOVE our new backsplash (and hope you do too), the stick on Instant Mosaic Tile did have one drawback for us. The instructions say that if you misplace a tile before you press it down, you can peel it back to reset it, and then restick the backing against your wall. However, for us it seemed like as soon as the adhesive backing touched the drywall, it was stuck for good! Trying to peel it off resulted in the paper starting to tear off of the drywall, so we pretty much just had to go with it and make sure it was exactly right before sticking it on. Being so sticky is also a good thing though because we don’t it falling off the wall. The advantage of using mastic tile adhesive is that you would have some wiggle room with the tile until it dried. But in the end, we got them all just the way we wanted them and we LOVE it!
UPDATE: When we originally did this project a few years ago, we didn’t seal the natural stone prior to grouting, we only sealed everything after grouting. We haven’t had any issues with it, but with some further research, we have found that it is best if you do seal the natural stone prior to grouting, and then do not seal it after grouting. This varies depending on what type of tile you are using. Here is a link to a “Seal Your Tiles, Not Your Grout” article by Mike Holms that helps explain why. The fun thing about DIY is learning as you go!


You guys did a WONDERFUL job!!!! It is beautiful and makes me want to do my kitchen!!!! LOVE IT!!!!!!
Hello Jasmine! Yes, we painted our cabinets using Rust-Oleum’s Cabinet Transformations Kit. It took a good amount of time, but made a HUGE difference in the look of our kitchen. Since our cabinets were in good shape and we just weren’t in love with their original color, it was MUCH less than ordering new cabinets. (You can read all about that project here: https://projectgoble.com/white-kitchen-transformation/ )
We actually didn’t replace the counter top! We used Rust-Oleum’s Counter Top Transformations kit to update them. It’s like a paint with a speck that you put on top and sand down, complete with a top coat. (You can read all about that project here: https://projectgoble.com/countertop-paint-transformation/ )
It was a little messy, but we LOVE them. Totally worth the time and effort!
Hope that helps. Let us know if you have any other questions.
That’s so exciting! Glad we could help. Good luck with your project Arden!
Arden,
When we originally did this project a few years ago, we didn’t seal the stone prior to grouting, we only sealed everything after grouting. We haven’t had any issues with it, but with some further research, we have found that it is best if you do seal the natural stone prior to grouting, and then do not seal it after grouting. Here is a link to an article by Mike Holms that may be helpful.
GREAT question and we hope this helps! (We are also going to add this in as an update to our post)
Let us know if you have any more questions. We are excited for your project!
http://www.theglobeandmail.com/real-estate/seal-your-tiles-not-your-grout/article1061504/
Thank you very much for this article – helped me immensely – 4 things missed though: ( learned the hard way)
– recognize the pattern first in the mosaic
– need 5 hands – if it folds you’re done
– spacers not sure about as our counter guy said go straight and made for tricky cuts
– Dremel tool was great for intricate cuts
– one tile was slightly different colors be careful