While researching what we wanted to do for our kitchen face lift we came across the Rust-Oleum Cabinet and Countertop Transformation Products. We already have a post about our Rust-Oleum Cabinet Transformation. In this post here we are going to talk about why we chose it and how we applied it.
 When we were in the planning stages of what we wanted to do with our kitchen we knew it wasn’t time to come out with the sledge hammers and crow bars and demolish everything and start from scratch. We just wanted to brighten up what we already have. Sure it would have been nice to have granite or quartz countertops laying in our kitchen right now but it just wasn’t in the budget but that maybe somewhere down the line. As for our old countertops they weren’t in bad shape they worked for everything we needed them for and we also liked the layout so all we really wanted to do was change the color of them.
 That is where the Rust-Oleum Countertop Transformation came in. They had some samples in different colors on display at Lowe’s and we were pleased with how they looked and it did a really good job of covering the color of the countertop underneath. We decided to give it a shot. What could it hurt right?
 Applying the Rust-Oleum Countertop Transformation only took a few steps but some of the steps did require some intense elbow grease. The kit had most everything you needed to complete the project it even has an instructional DVD to show you how to use it. You can watch the “Rust-Oleum Countertop Transformations Application Video” on Youtube to help you decide if this is something you may want to tackle. The things that weren’t included were items that you would normally for purchase for painting type projects. It does have a list for the extra items that are needed like synthetic paint brushes, painters tape, plastic to cover your cabinets, backsplash, and the floor in front of your cabinets, a shop vac is definitely handy with the cleanup, and you will also need a microfiber roller, and a high density foam roller. To begin the project we used the provided diamond embedded sanding tool to sand over the entire countertop to roughen up the surface and give the base coat something to stick to.
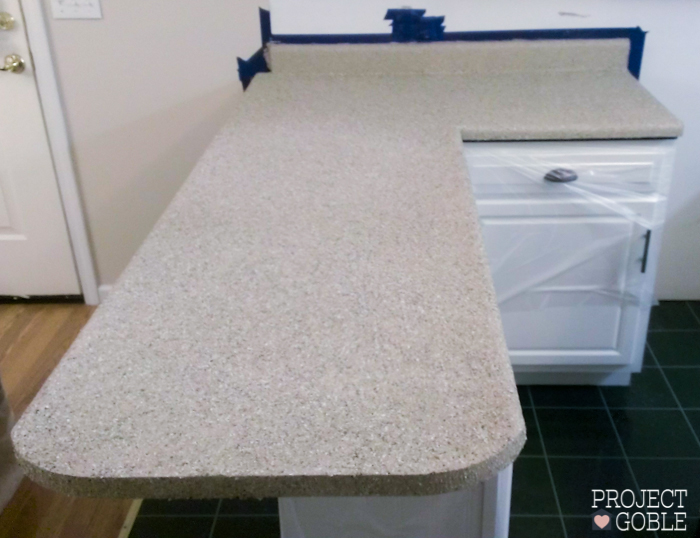
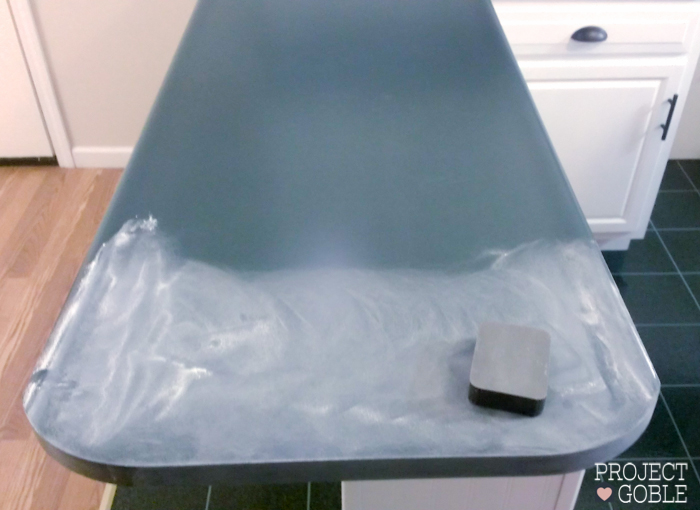 After sanding, we did a thorough cleanup with a shop vac and then a damp lint free cloth once we removed all the dust. Next we applied the adhesive base coat. We found it best for us both to work on a small section of the countertop together so the base coat wouldn’t dry up on us. Then we applied the wetting agent which helps keep the base coat wet, guess that’s why they call it the wetting agent! Then the fun part for us was using the provided spreader, which is very similar to a small grass seed spreader you would use for your yard. We loaded the neat little spreader with the different color chips and spread a heavy coat all over the wet base coat.
 This step did get a little messy but we had fun making the mess. We continued these steps until we got all the way around our countertops then let it set for 12 hours or so. The next day, we scraped over the chips to knock down the high spots and then sanded our arms off again to smooth down the edges of the chips.
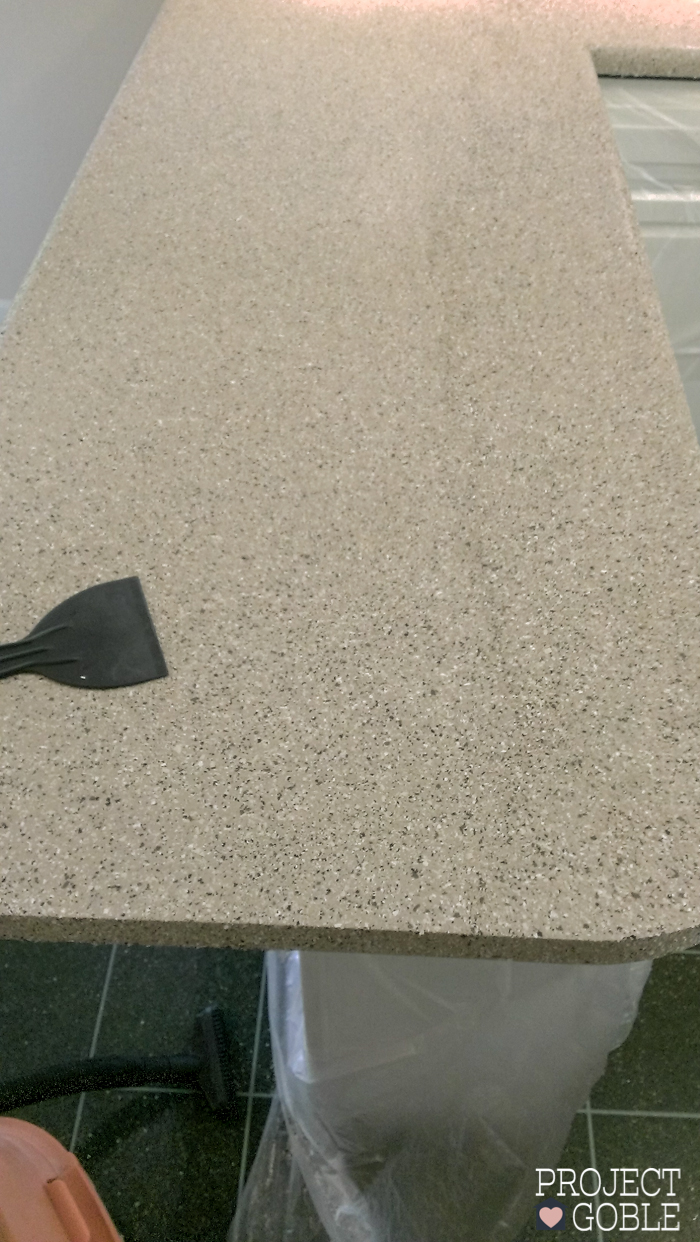
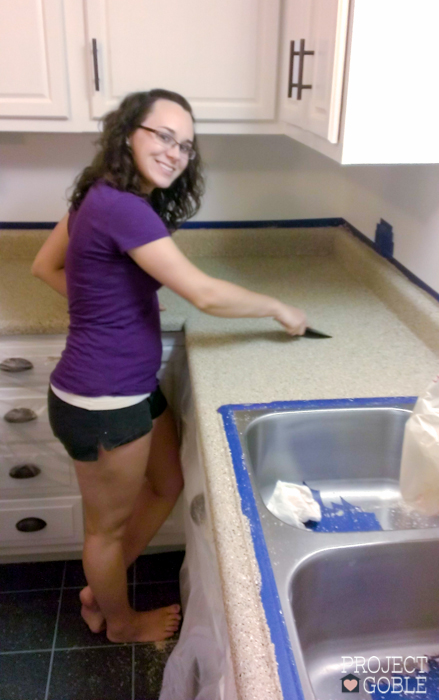 I guess a power sander could be used but we were afraid of sanding too much off. There is a sample texture in the kit that we used to match the texture on our countertops with. Just rub the countertop then the texture sample and then keep sanding until they felt the same. After another round with the shop vac and damp cloth we were ready for the protective top coat.
This is a 2 part epoxy that once mixed together you only have a limited time window to apply it before it hardens. (We didn’t even waste any time taking photos of this step, cause it really does dry quick!) The top coat is supposed to be applied kinda thick. One part of our countertop we didn’t get covered as thick. It still looks nice and glossy but you can still feel some of the texture underneath. The other part of the countertop that did receive a thick coating is glossy but also nice and smooth feeling. This was completely our fault nothing to do with the top coat. We contacted Rust-Oleum wanting to buy another batch of the top coat they said they could send us some if we sent them our proof of purchase and a picture of the countertop. (UPDATE: We believe they sell the top coat now by itself, for people like us who just needed a wee little bit more!)
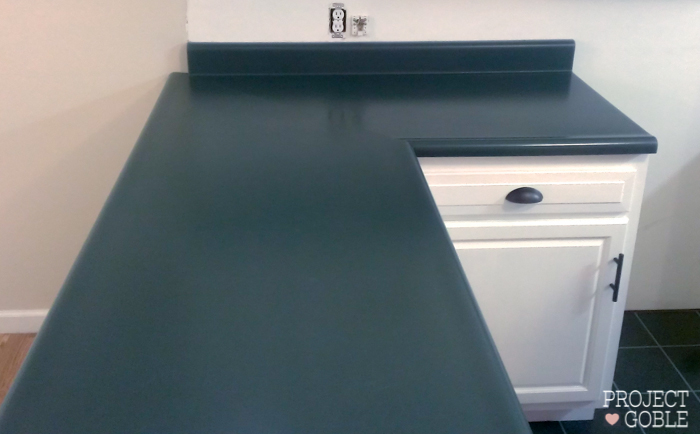
Now HERE is the “hard” part. It’s recommended to wait 7 days for the countertop to fully cure. That’s a long time to go without putting anything on your counters and using them in anyway. After we counted down the 7 days, we moved everything back and absolutely LOVE the new look.
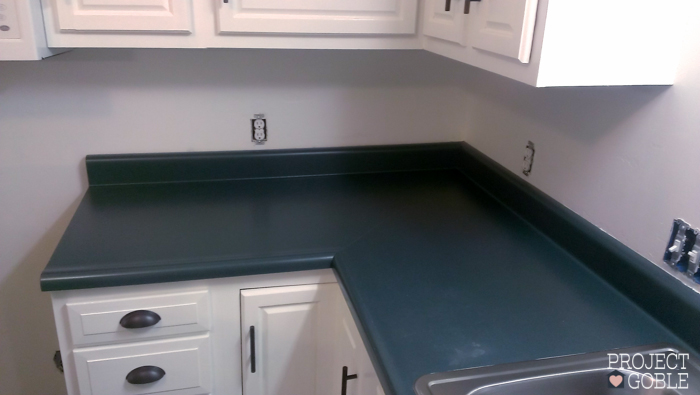
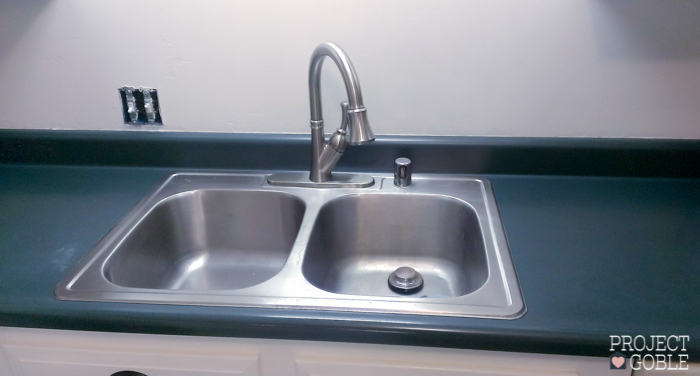
Here are some up close photos of our completed countertop transformation.
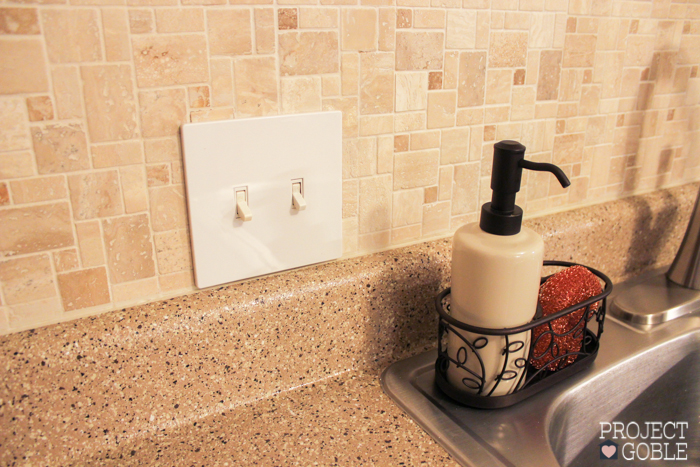
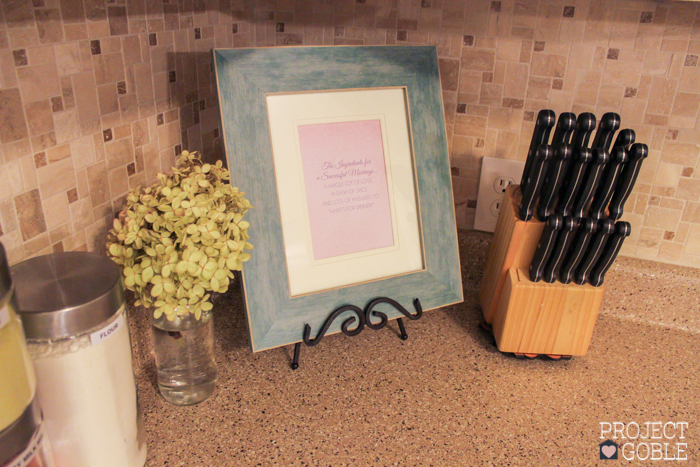
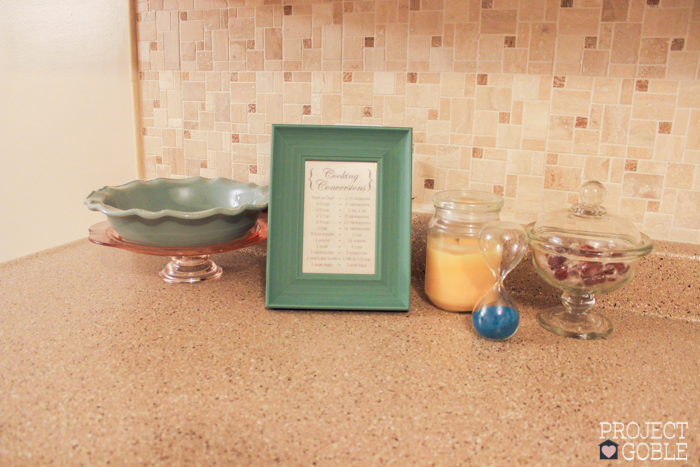
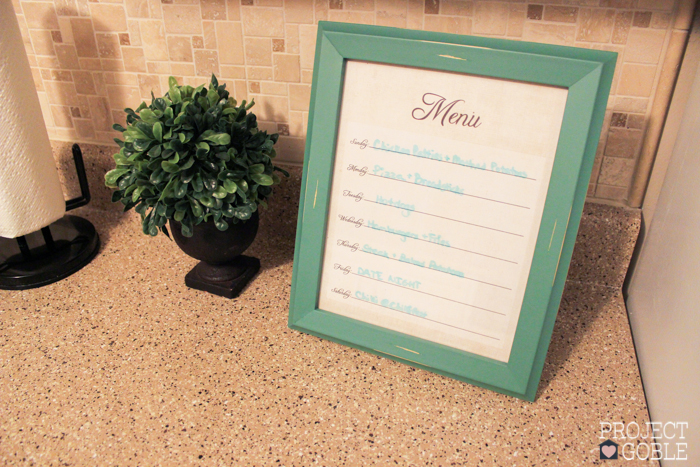
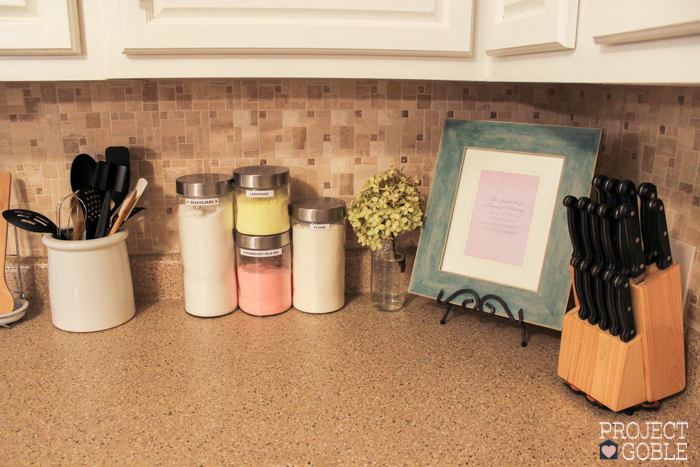
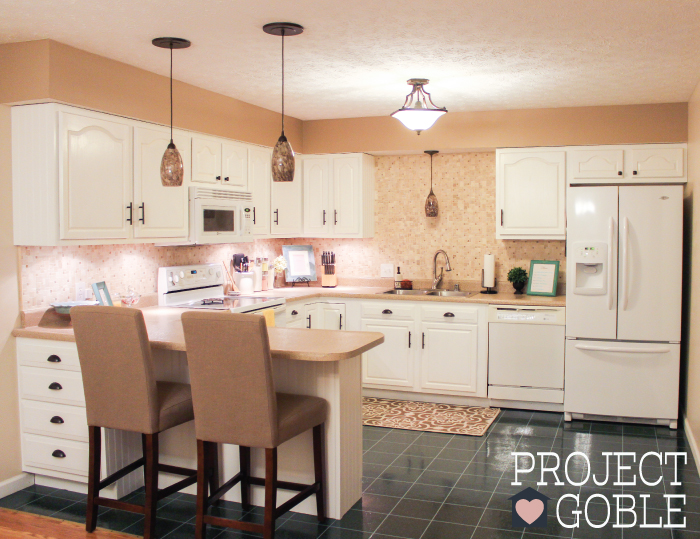 Did we mention how much we LOVE our countertops?!? It was totally worth the time, mess, and effort we put into transforming them.
Have any of ya’ll had any good or bad experiences with The Rust-Oleum Countertop Transformations? Have a question about the process? Or something else related to our kitchen? Leave us a comment!
 When we were in the planning stages of what we wanted to do with our kitchen we knew it wasn’t time to come out with the sledge hammers and crow bars and demolish everything and start from scratch. We just wanted to brighten up what we already have. Sure it would have been nice to have granite or quartz countertops laying in our kitchen right now but it just wasn’t in the budget but that maybe somewhere down the line. As for our old countertops they weren’t in bad shape they worked for everything we needed them for and we also liked the layout so all we really wanted to do was change the color of them.
 That is where the Rust-Oleum Countertop Transformation came in. They had some samples in different colors on display at Lowe’s and we were pleased with how they looked and it did a really good job of covering the color of the countertop underneath. We decided to give it a shot. What could it hurt right?
 Applying the Rust-Oleum Countertop Transformation only took a few steps but some of the steps did require some intense elbow grease. The kit had most everything you needed to complete the project it even has an instructional DVD to show you how to use it. You can watch the “Rust-Oleum Countertop Transformations Application Video” on Youtube to help you decide if this is something you may want to tackle. The things that weren’t included were items that you would normally for purchase for painting type projects. It does have a list for the extra items that are needed like synthetic paint brushes, painters tape, plastic to cover your cabinets, backsplash, and the floor in front of your cabinets, a shop vac is definitely handy with the cleanup, and you will also need a microfiber roller, and a high density foam roller. To begin the project we used the provided diamond embedded sanding tool to sand over the entire countertop to roughen up the surface and give the base coat something to stick to.
 After sanding, we did a thorough cleanup with a shop vac and then a damp lint free cloth once we removed all the dust. Next we applied the adhesive base coat. We found it best for us both to work on a small section of the countertop together so the base coat wouldn’t dry up on us. Then we applied the wetting agent which helps keep the base coat wet, guess that’s why they call it the wetting agent! Then the fun part for us was using the provided spreader, which is very similar to a small grass seed spreader you would use for your yard. We loaded the neat little spreader with the different color chips and spread a heavy coat all over the wet base coat.
 This step did get a little messy but we had fun making the mess. We continued these steps until we got all the way around our countertops then let it set for 12 hours or so. The next day, we scraped over the chips to knock down the high spots and then sanded our arms off again to smooth down the edges of the chips.

 I guess a power sander could be used but we were afraid of sanding too much off. There is a sample texture in the kit that we used to match the texture on our countertops with. Just rub the countertop then the texture sample and then keep sanding until they felt the same. After another round with the shop vac and damp cloth we were ready for the protective top coat.
This is a 2 part epoxy that once mixed together you only have a limited time window to apply it before it hardens. (We didn’t even waste any time taking photos of this step, cause it really does dry quick!) The top coat is supposed to be applied kinda thick. One part of our countertop we didn’t get covered as thick. It still looks nice and glossy but you can still feel some of the texture underneath. The other part of the countertop that did receive a thick coating is glossy but also nice and smooth feeling. This was completely our fault nothing to do with the top coat. We contacted Rust-Oleum wanting to buy another batch of the top coat they said they could send us some if we sent them our proof of purchase and a picture of the countertop. (UPDATE: We believe they sell the top coat now by itself, for people like us who just needed a wee little bit more!)
Now HERE is the “hard” part. It’s recommended to wait 7 days for the countertop to fully cure. That’s a long time to go without putting anything on your counters and using them in anyway. After we counted down the 7 days, we moved everything back and absolutely LOVE the new look.
Here are some up close photos of our completed countertop transformation.


 Did we mention how much we LOVE our countertops?!? It was totally worth the time, mess, and effort we put into transforming them.
Have any of ya’ll had any good or bad experiences with The Rust-Oleum Countertop Transformations? Have a question about the process? Or something else related to our kitchen? Leave us a comment!



We transformed our countertops in August 2013 and they look and feel the EXACT same today! We have not redone them at all. Still one of our favorite projects and definitely the biggest transformation for such a small price (especially when compared to new countertops!!).