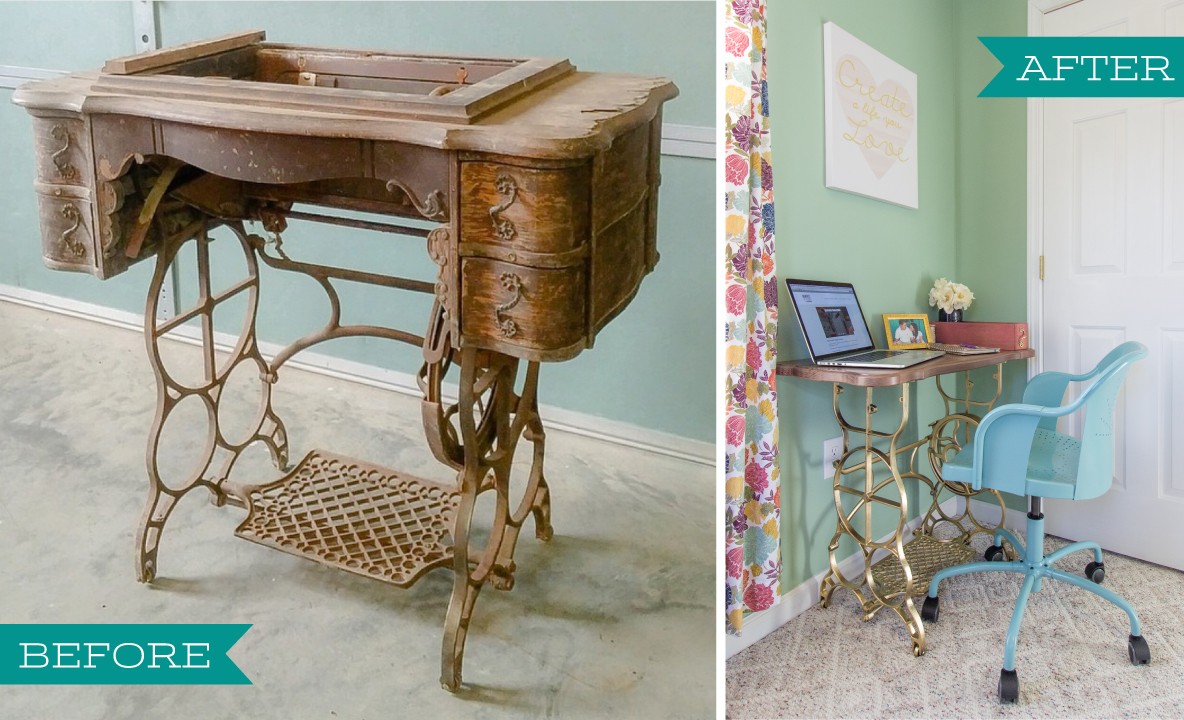
We discovered an old sewing machine at a local antique store. Unfortunately, the original top and sewing machine were far too gone to be salvaged, but we knew that with a little bit of love the bottom part would make a really neat base for a table! So, we went ahead and got it. We only paid $25, but have seen these sold in all different conditions for MUCH more!
IT’S ALL ABOUT THE BASE:
The first part of this project was removing the old top which wasn’t too difficult. We simply took out a few screws and it came right off. Next up was the base. We took a few different sized wire brushes that attached to our drill and went to town removing the rust and any loose paint. (That sure did stir up some dust!) Once we had it all cleaned, we took the air compressor and blew all the dust off and then went over it with a rag just to make sure it was as clean as possibly before painting.
Then it was time for the paint, our favorite part! We used Rust-Oleum Mirror Effects in Gold Mirror for the base, applying a few light coats and allowing it to dry in between coats. The first coat we applied with the base setting upside down just to make sure to get in all the curves and then set it upright for the last 2 coats. With a few coats of paint our base was shining like new gold!
NEW TABLE TOP IN ORIGINAL SHAPE
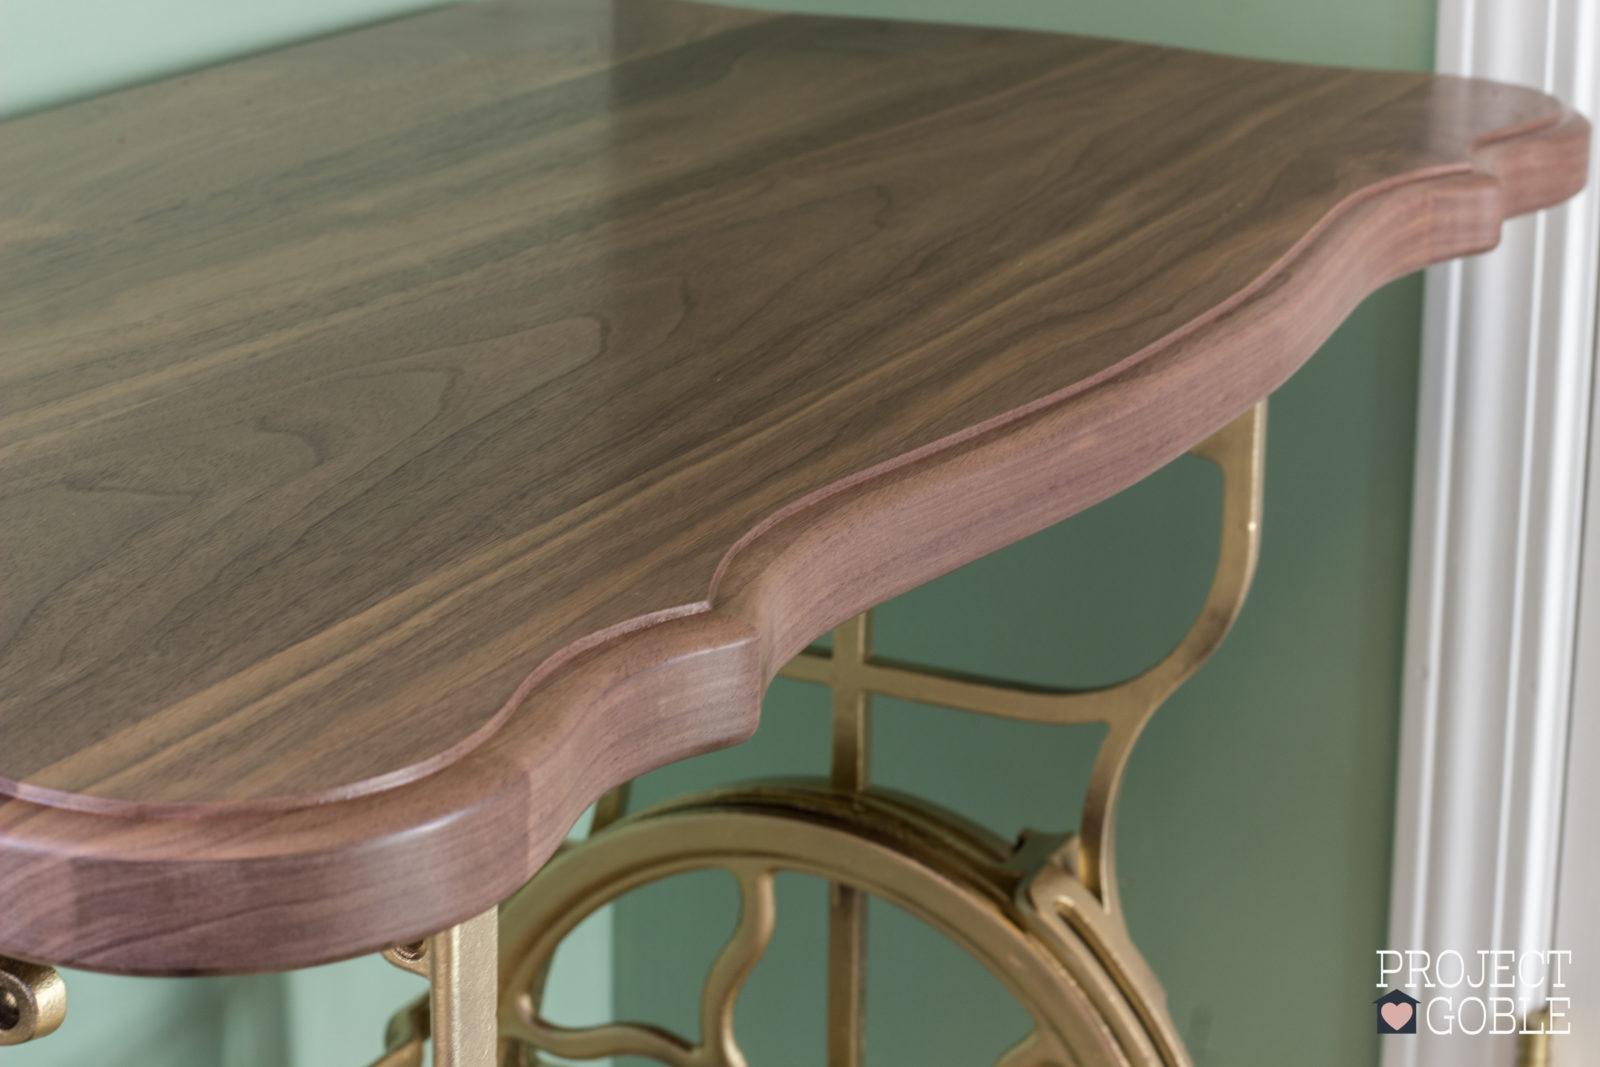
We knew we wanted a dark wood top, so we decided to purchase a few thick walnut boards for the top. We tossed around a couple of ideas for the shape of the top. Our first idea was a straight table top with breadboard ends on it, similar to a farm table look. Although we liked this idea, it just seemed too simple for our fancy gold base, so we decided to bring in some curves! We had a “light bulb moment” and came up with the idea of creating a template using the shape of the original top, which had some really unique curves that we loved. This would allow us to incorporate the look of the old top without having to actually use it. (It was in such bad shape!)
We made a template using some 1/4″ thick plywood and then cut and glued our new top together then let it dry. After that, we used a template to trace onto the boards and then cut it out with a jigsaw. When cutting with the jigsaw, instead of cutting right on the template line, we left about a 1/16″ of space. This allowed us to place the template back on there with double sided tape and we went over it with a router and a flush trim bit which cut it to exactly match our template.
Now that the new top was cut to shape, we used two different router bits for the edge profiles. For the top edge profile we used a thumbnail profile router bit and for the bottom edge we just used a round over router bit just to smooth out the edge.
After some intense hand sanding, it was time to apply some finish on the table top. Since the walnut wood already had a beautiful color, we didn’t want to change it or cover it up so we simply finished it using Rust-Oleum Ultimate Polyurethane in Matte Interior. This allowed us to leave the wood with a natural look and feeling. We applied four coats to both the top and bottom, sanding with 320 grit sandpaper in between coats after they had fully dried.
Once the new top and base were all finished, we decided to use one of the old drawers that was still in decent shape as a storage box to set on top of the table. We cleaned it up and added a fun pop of color! (We LOVE fun colors!) We removed the drawer pull and gave it a new look with Rust-Oleum Mirror Effects in Gold Mirror to coordinate with the base.
We painted the drawer with Rust-Oleum Speciality Metallic Spray Paint in Copper and once that dried, we gave the outside of the drawer a light coat of Rust-Oleum Glitter Spray Paint in Bright Pink followed by a coat of Rust-Oleum Ultra 2X Cover in Matte Clear to seal the glittery finish.
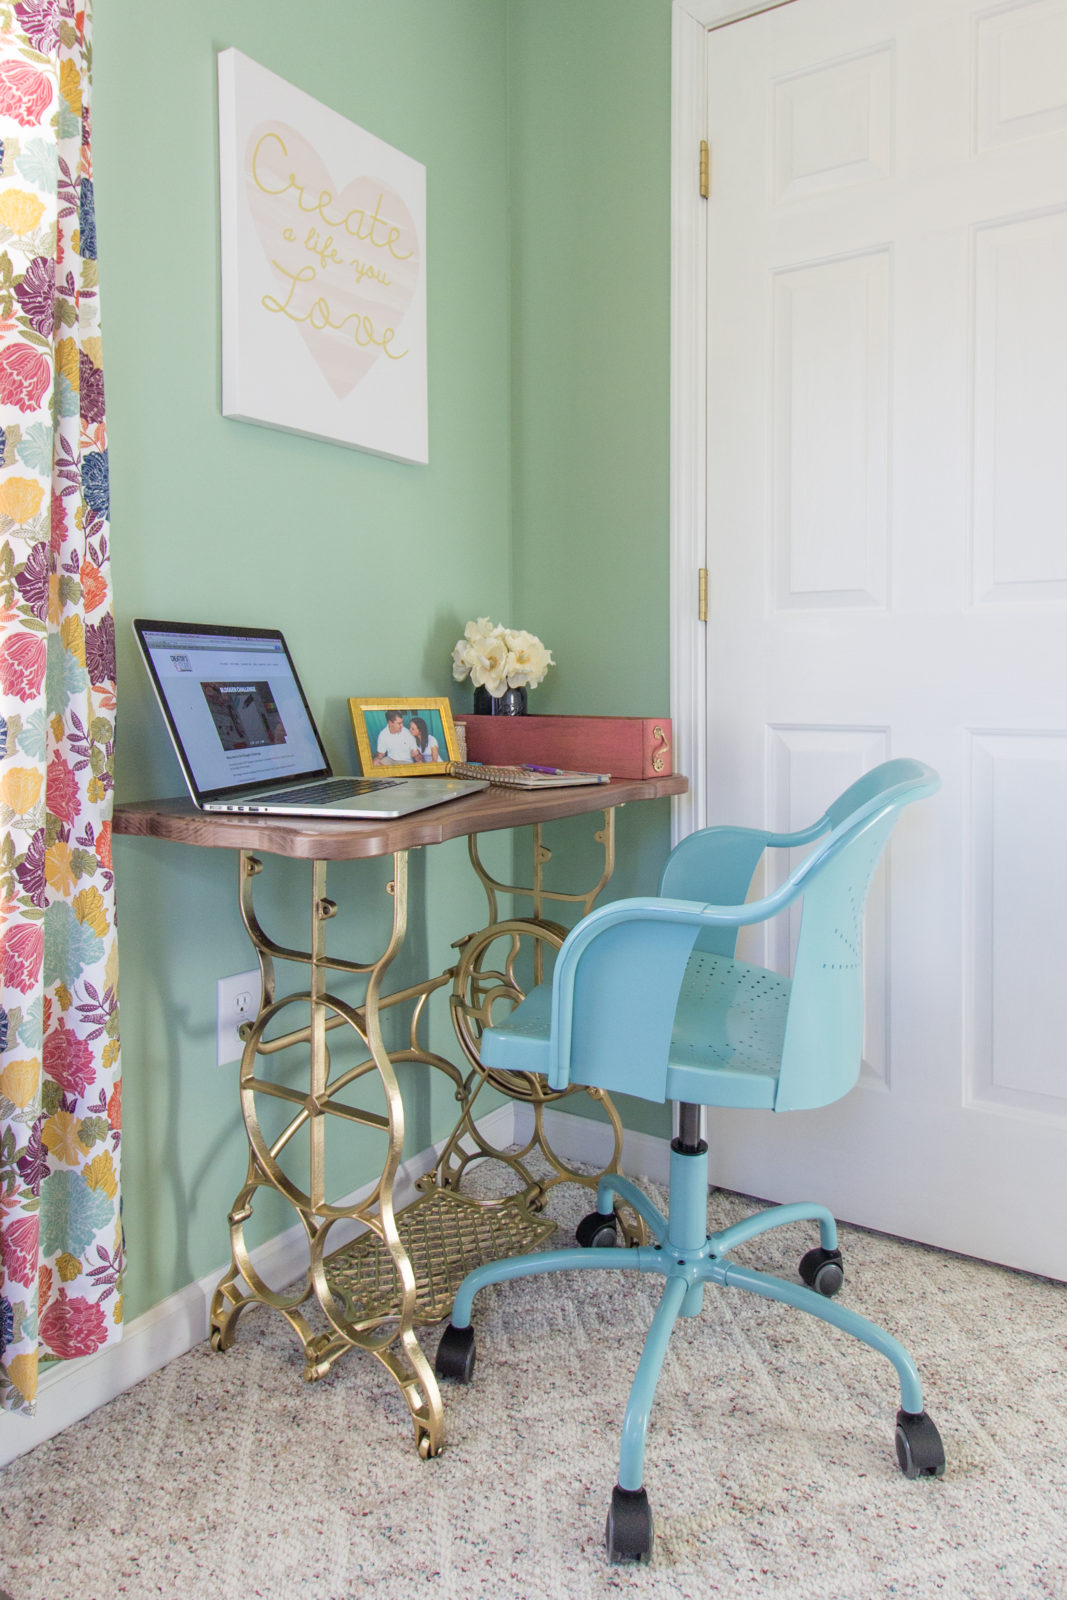
That completes this project and now we have a nice little desk perfect for a laptop. It’s currently in our office/craft room, but we can think of a zillion uses for this table and it would work well in multiple rooms of our house. We have even thought about using it as a… (wait for it….)….. SEWING MACHINE TABLE! The options are endless.
What Rust-Oleum product(s) did you use?Rust-Oleum Mirror Effects in Gold MirrorRust-Oleum Ultimate Polyurethane in Matte InteriorRust-Oleum Speciality Metallic Spray Paint in CopperRust-Oleum Glitter Spray Paint in Bright PinkRust-Oleum Ultra 2X Cover in Matte Clear
We hope you LOVE our upcycle as much as we do! (Let us know if you have any questions!)


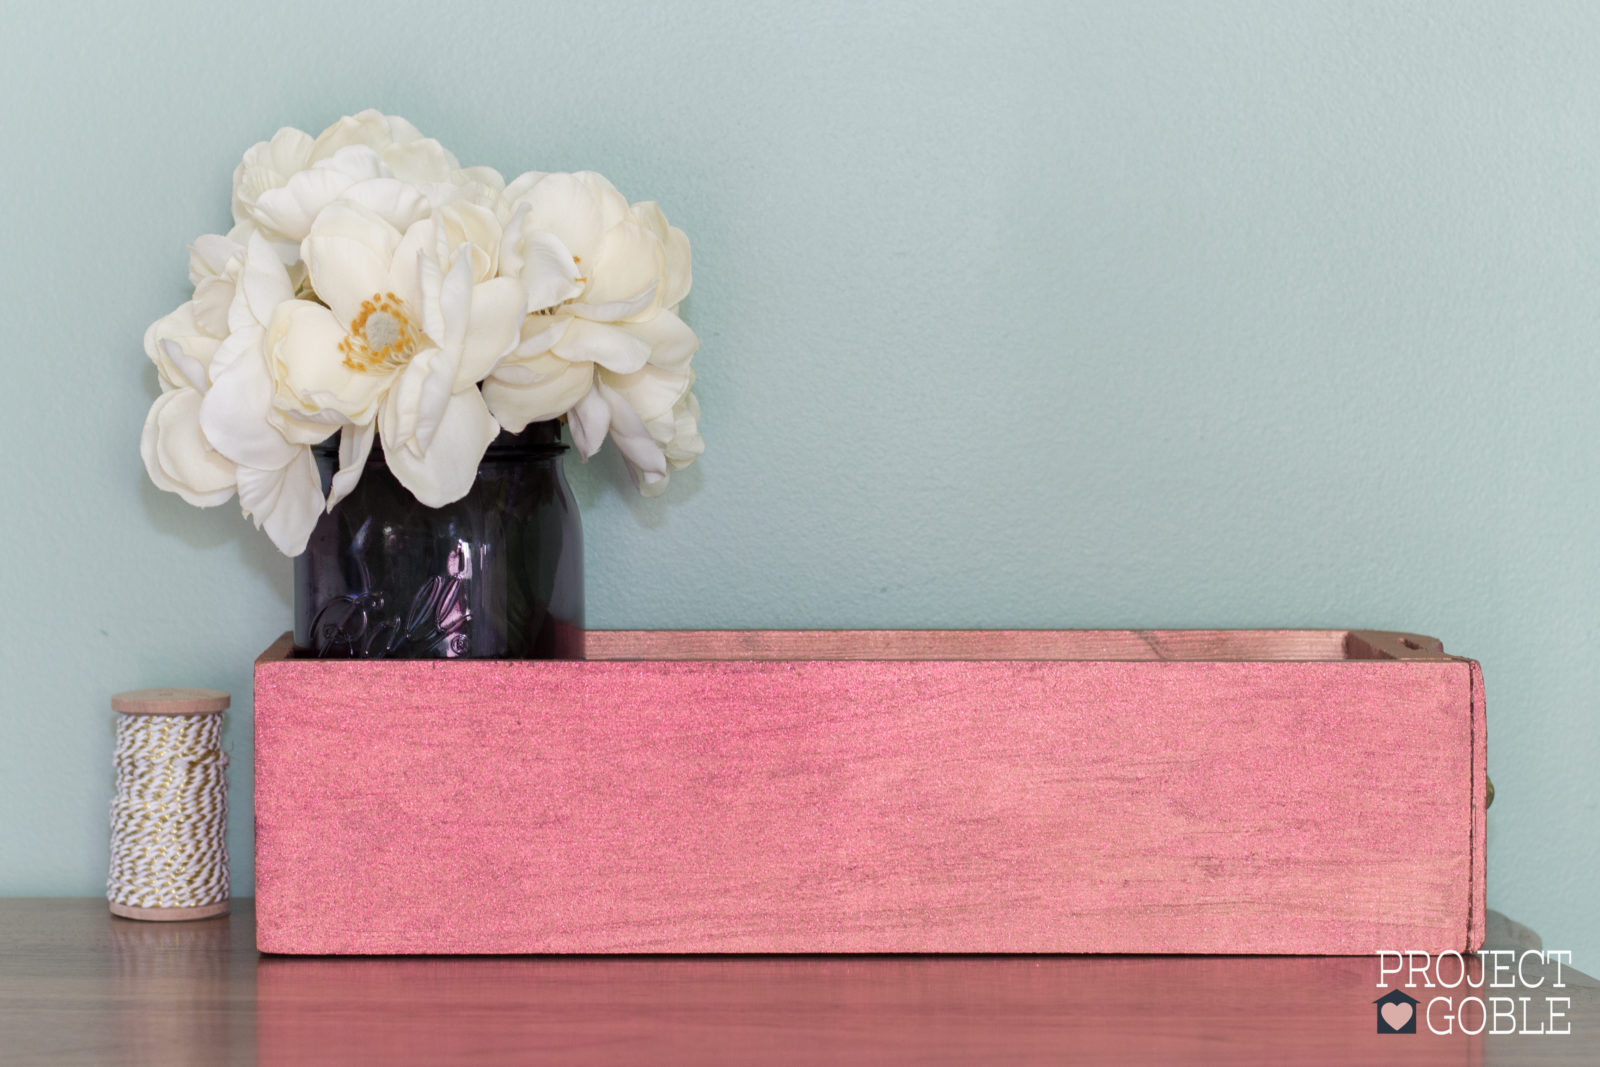
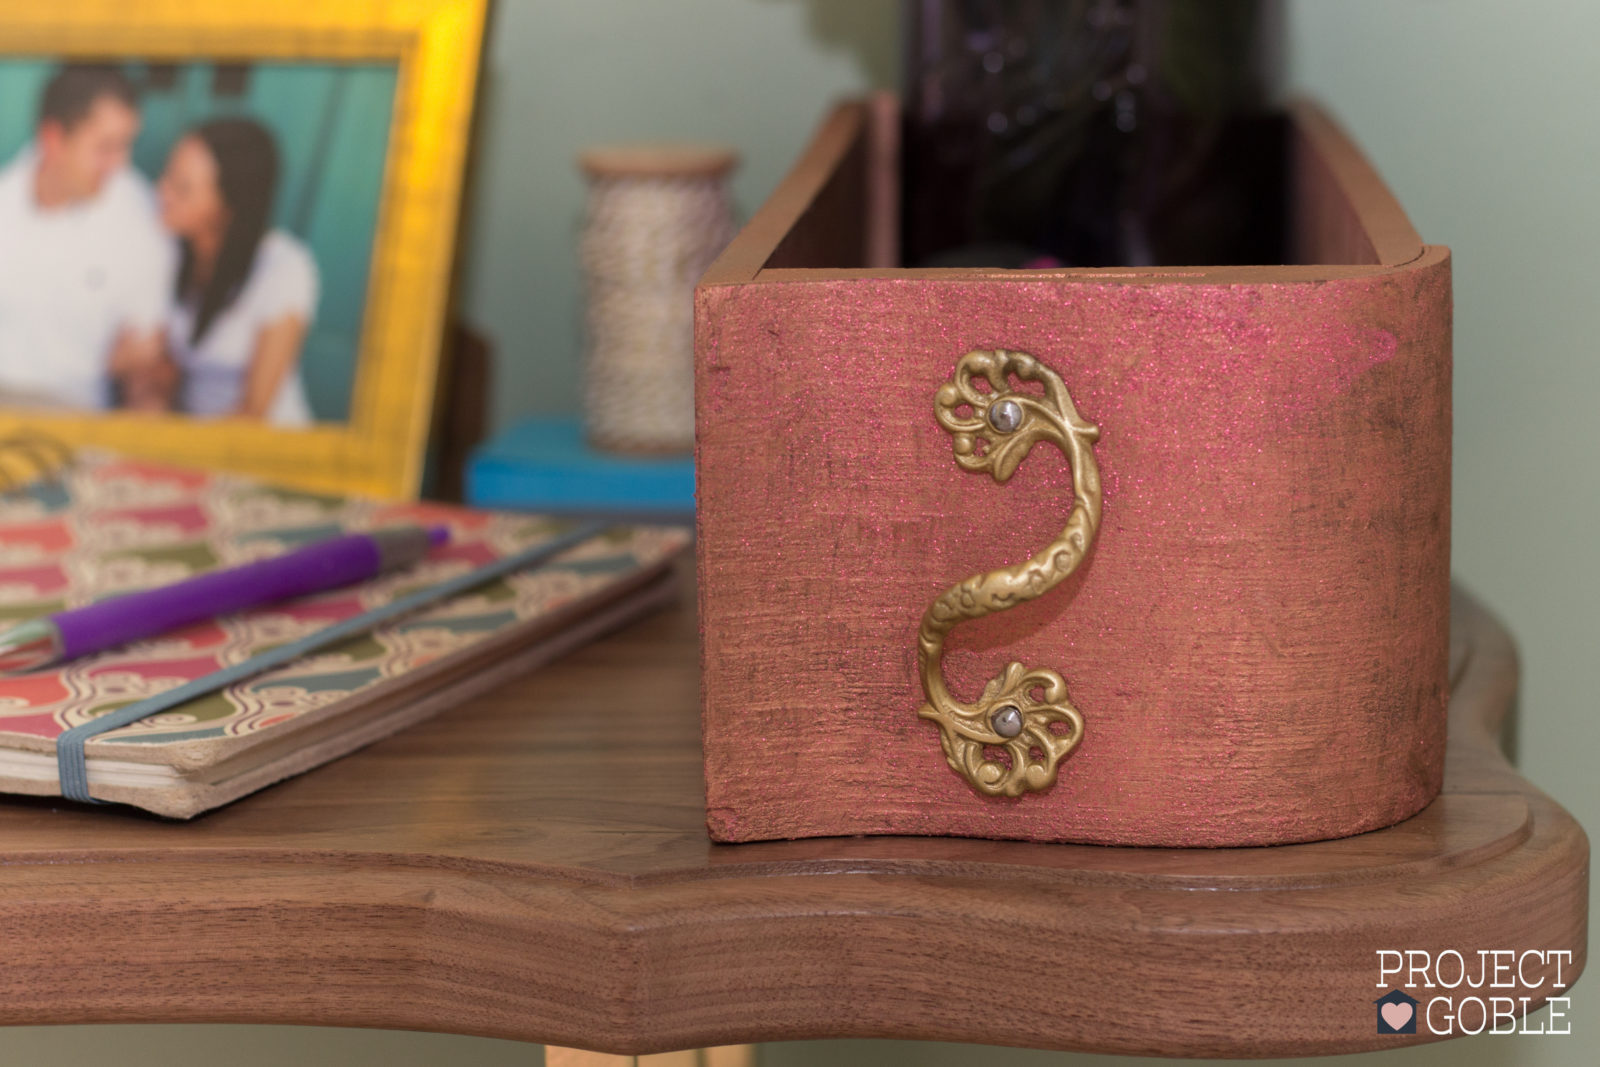
 Once the new top and base were all finished, we decided to use one of the old drawers that was still in decent shape as a storage box to set on top of the table. We cleaned it up and added a fun pop of color! (We LOVE fun colors!) We removed the drawer pull and gave it a new look with Rust-Oleum Mirror Effects in Gold Mirror to coordinate with the base.
We painted the drawer with Rust-Oleum Speciality Metallic Spray Paint in Copper and once that dried, we gave the outside of the drawer a light coat of Rust-Oleum Glitter Spray Paint in Bright Pink followed by a coat of Rust-Oleum Ultra 2X Cover in Matte Clear to seal the glittery finish.
Once the new top and base were all finished, we decided to use one of the old drawers that was still in decent shape as a storage box to set on top of the table. We cleaned it up and added a fun pop of color! (We LOVE fun colors!) We removed the drawer pull and gave it a new look with Rust-Oleum Mirror Effects in Gold Mirror to coordinate with the base.
We painted the drawer with Rust-Oleum Speciality Metallic Spray Paint in Copper and once that dried, we gave the outside of the drawer a light coat of Rust-Oleum Glitter Spray Paint in Bright Pink followed by a coat of Rust-Oleum Ultra 2X Cover in Matte Clear to seal the glittery finish.
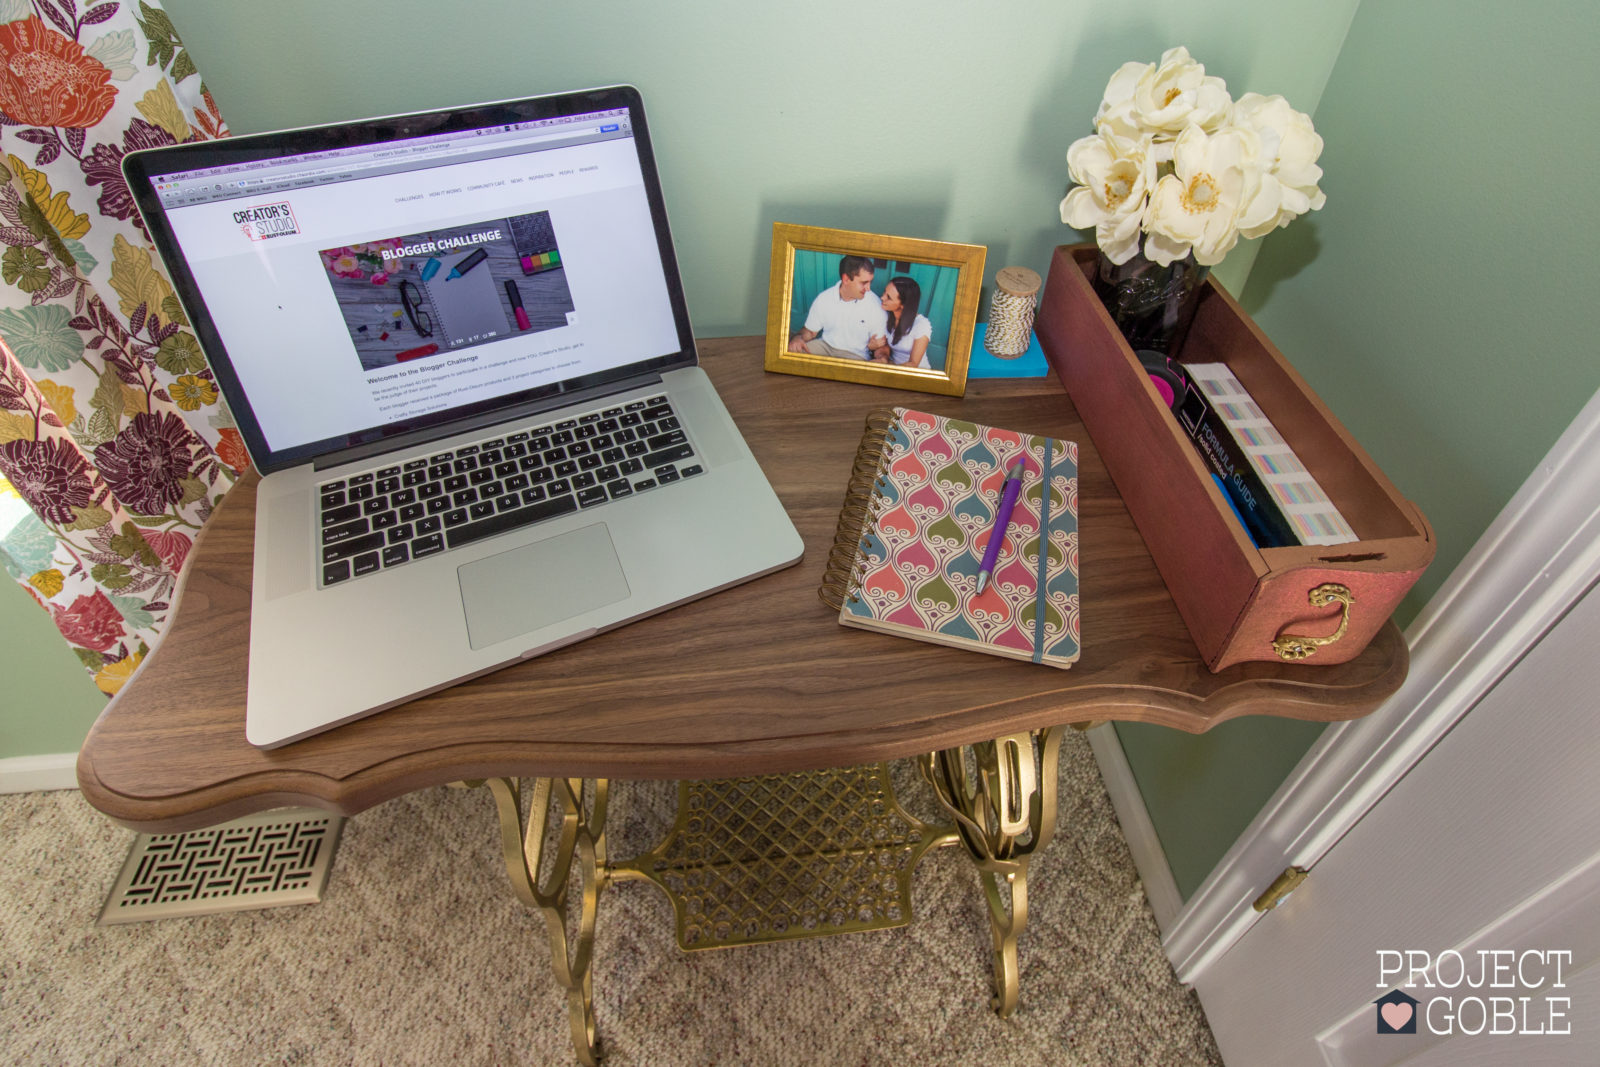
 That completes this project and now we have a nice little desk perfect for a laptop. It’s currently in our office/craft room, but we can think of a zillion uses for this table and it would work well in multiple rooms of our house. We have even thought about using it as a… (wait for it….)….. SEWING MACHINE TABLE! The options are endless.
 What Rust-Oleum product(s) did you use?
Rust-Oleum Mirror Effects in Gold Mirror
Rust-Oleum Ultimate Polyurethane in Matte Interior
Rust-Oleum Speciality Metallic Spray Paint in Copper
Rust-Oleum Glitter Spray Paint in Bright Pink
Rust-Oleum Ultra 2X Cover in Matte Clear
What Rust-Oleum product(s) did you use?
Rust-Oleum Mirror Effects in Gold Mirror
Rust-Oleum Ultimate Polyurethane in Matte Interior
Rust-Oleum Speciality Metallic Spray Paint in Copper
Rust-Oleum Glitter Spray Paint in Bright Pink
Rust-Oleum Ultra 2X Cover in Matte Clear