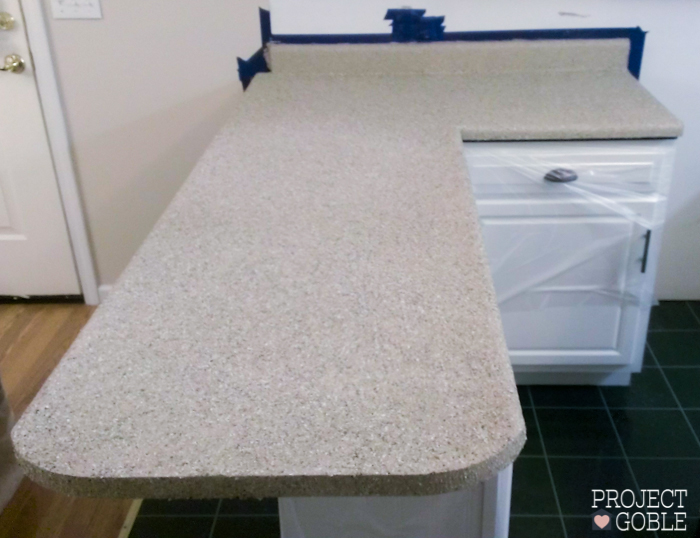
Have an ugly breaker box in your house taking up prime wall space? So do we! AND Jay’s parents, who we will refer to as Mom and Dad Goble, do too! As soon as you walk into our kitchen area, BAM – there is an ugly metal gray breaker box in the corner, taking up a good portion of our dining room wall. Mom and Dad Goble’s breaker box is also very visible as soon as you enter their back door into their washroom area.
A breaker box is an important and essential piece of electrical safety equipment in every home. You may need to access the box when turning off your home’s power, so it’s not something you can simply move a large piece of furniture in front of to hide its ugliness.
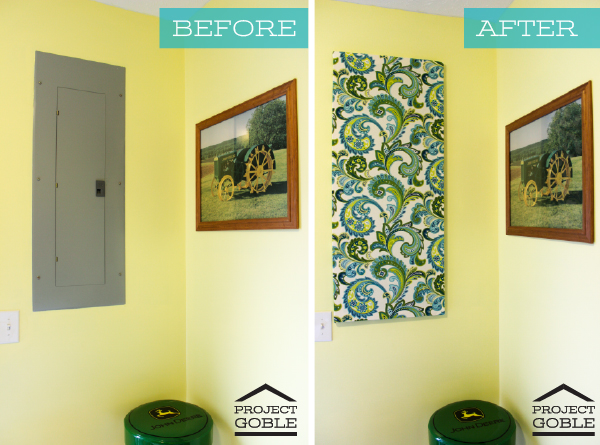
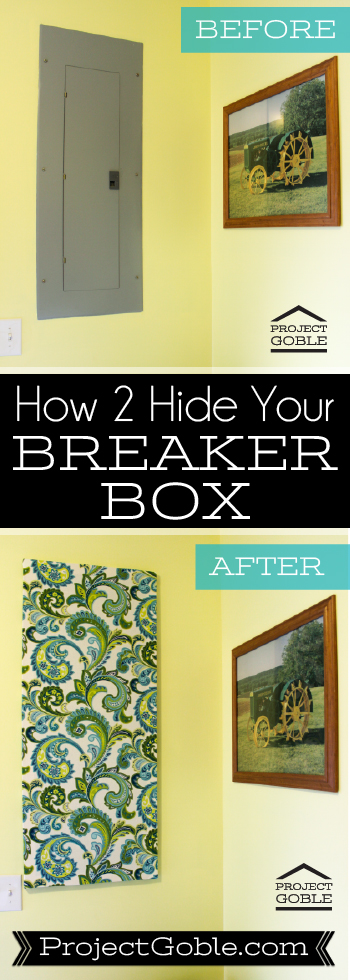
In order to safely hide our tacky breaker boxes, we decided to create a custom piece of wall art. We want to share this with you in case you would like to cover up your ugly breaker box as well. (We apologize for calling your breaker box ugly, but hey – the truth is the truth!)
DISCLAIMER: Before starting on this project, make sure to check your local building codes to see if it is ok to cover the breaker box up.
Once you get started, this project can be done fairly quickly (a few hours at most), and only takes a few easy steps. First off, you need to measure your breaker box. Keep these dimensions, as you will need them a couple times during this project. After you get your dimensions, gather up your supplies.
SUPPLIES NEEDED:
- frame pieces, per-assembled frame, old artwork, or materials to build frame (finished dimensions need to be slightly larger than breaker box)
- Kreg Jig & Kreg Jig Screws (Or some other way to join the frame together) *Not needed if using a pre-built frame
- Drill
- electric staple gun & staples
- thick piece of material (Larger than your breaker box; This could also be an old blanket, curtain, shower curtain, etc.)
FABRIC: We took a family shopping trip to our local Joann Fabric store and Mom Goble & Allison found the perfect piece of thick, paisley fabric that coordinated with Mom & Dad Goble’s yellow, blue, and green wall colors. Before starting this project, you will want to iron your material to avoid any creases and wrinkles.
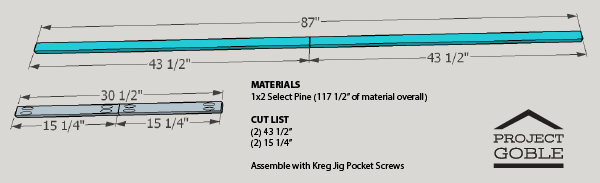
FRAME: You can purchase individual frame pieces (like used to create frames for canvas paintings) that you assemble yourself from Hobby Lobby (or another craft store) but you will be limited to the sizes they have available. Mom & Dad Goble’s breaker box is a not so common size, so we just used some 1×2 pine boards left over from another project. These boards can be purchased at your local Lowe’s or Home Depot. You can currently pick up 1x2x8 boards at Lowe’s for $5.63 each. Also, if you don’t have a saw to cut them with, take your measurements with you and ask one of their employees if they can cut the boards for you in the store**.
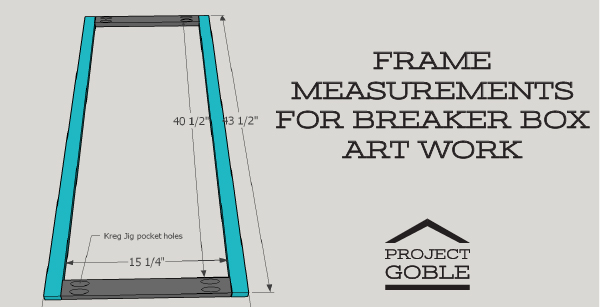
Here are the measurements and cut list that we used for our breaker box frame. Most measurements will vary from house to house.
And please overlook our messy garage! We have TONS of plans to organize and paint it once all this cold weather goes away. (Spring & Summer – where are you? We would like to see you some time this year!)
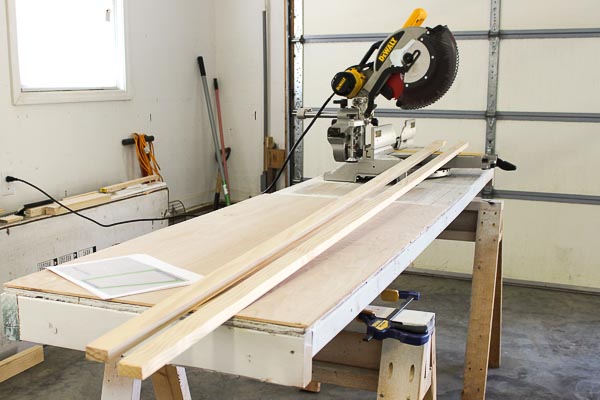
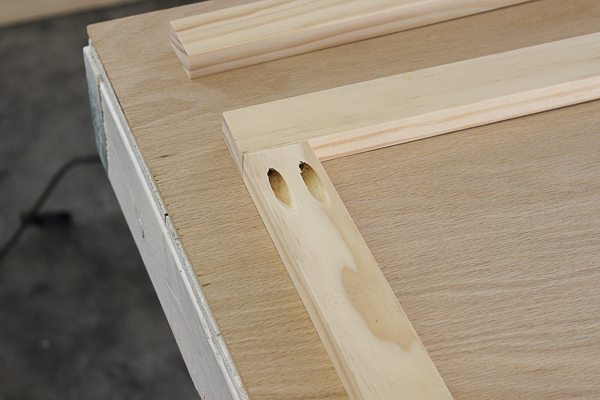
We cut each of the four boards to the sizes we needed to form the rectangle frame. To join the boards together we used our handy dandy Kreg Jig to make some pocket holes (if you haven’t seen or used this tool, it is pretty awesome).

After joining the boards with the Kreg Jig using 2 screws per corner, the frame was complete.
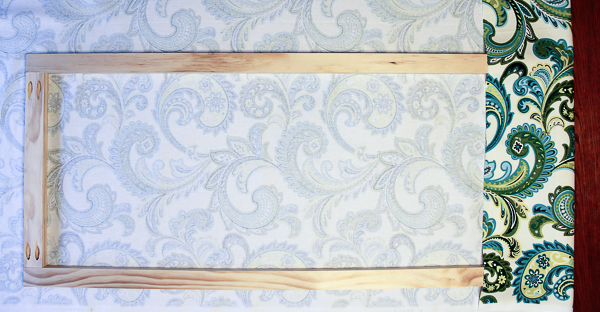
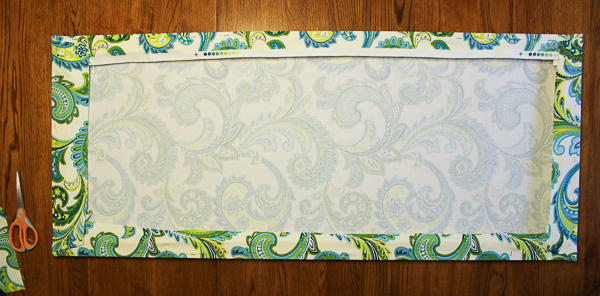
ATTACHING THE FABRIC: After the frame was cut and assembled, it was time to cover it with the fabric that Mom Goble picked out to match the colors in her washroom. We recommend using a fabric that is kinda thick so you won’t be able to see the frame though it. We started by cutting the fabric a little bit larger than the frame and placing it pattern side down with the frame on top.
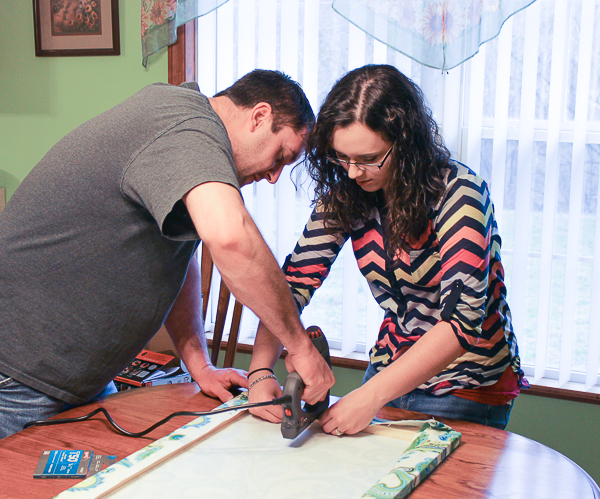
Next up is to staple down each of the four corners, as this helps to get the fabric lined up and make sure it’s straight. We used an electric stapler and some ¼ inch staples to attach the fabric to the frame.

From there, we worked our way down two of the sides (one at a time) pulling the fabric tight and shooting it full of staples. If you are using a fabric with a distinct pattern or design on it, be careful not to pull it so tight that it distorts the pattern, as we learned this the hard way when ATTEMPTING to complete another fabric related project a few years ago. After finishing the sides, we did the same thing along the top of the frame.
After all four sides are stapled, we took a sneak peek at the final project (we loved it!) and then turned it back over to add in some extra staples to the excess material around the inside of the frame. This simply helps the frame to hang flush against the wall and not have bulky material sticking out everywhere.
After that, we trimmed up a bit of the extra fabric on the backside and the project was complete. Pretty simple, right?
HANGING: After the artwork was completed, Dad Goble placed two screws at the sides of the top of the breaker box. Make sure to not place these too close to your breaker box! We took the completed artwork into Mom Goble’s washroom, hung it up, and enjoyed the final result. Now no one will ever know that an ugly breaker box lives behind the pretty paisley fabric wall art!
As we mentioned, this project was for Mom & Dad Goble. We have actually already finished our breaker box wall art. Now would you rather see the cute (and large) brown piece as part of our wall collage OR an ugly gray breaker box? You would never even know the ugliness hiding behind there! Really, who puts a breaker box smack dab in the corner of a dining room wall?!?
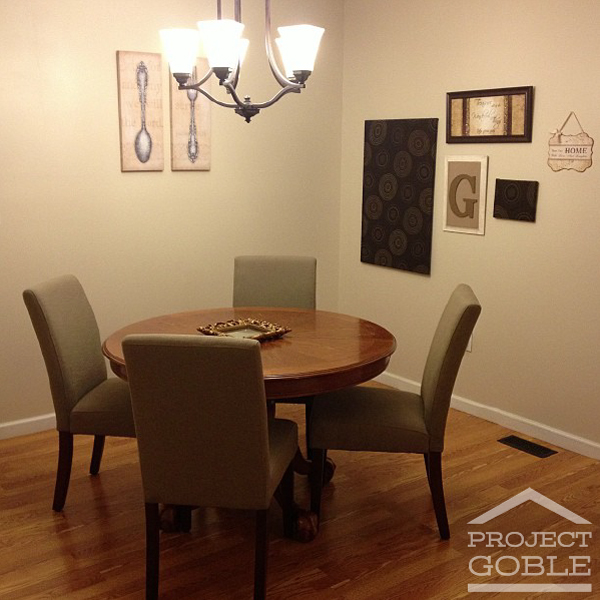
Although this pic is of our finished project (which we posted to Instagram a while back), we plan to recover our frame with a different material very soon so it will match our new kitchen (you can read more about our kitchen redo here) and will also post photos once it is recovered.
What do you think about our breaker box wall art project for Mom & Dad Goble? Do you have a breaker box or something that you are going to cover up using our custom wall art idea? Leave us a comment and let us know, as we would LOVE to hear from you!

Looks nice, as long as everyone knows how to find the breaker box. 🙂
This is so so good! My husband and myself are building a cottage style home and we were just talking about where to put the breaker box so it does not show up in the middle of a hall. Will show him this.
Love if you share this on Fabulous Friday Party http://www.simplenaturedecorblog.com/fabulous-friday-partyfall-features/ Thanks Maria
Such a clever and crafty idea! Luckily, our fuse box is hidden in the laundry room, but I love this idea! And that fabric looks great with the color of the wall! Thanks for sharing at Submarine Sunday!
What a creative way to hide it. I’m so going to do the same.
[…] don’t have a canvas available or have a odd-sized electrical panel, Allison and Jay Goble at Project Goble stretched fabric over a DIY wood […]